
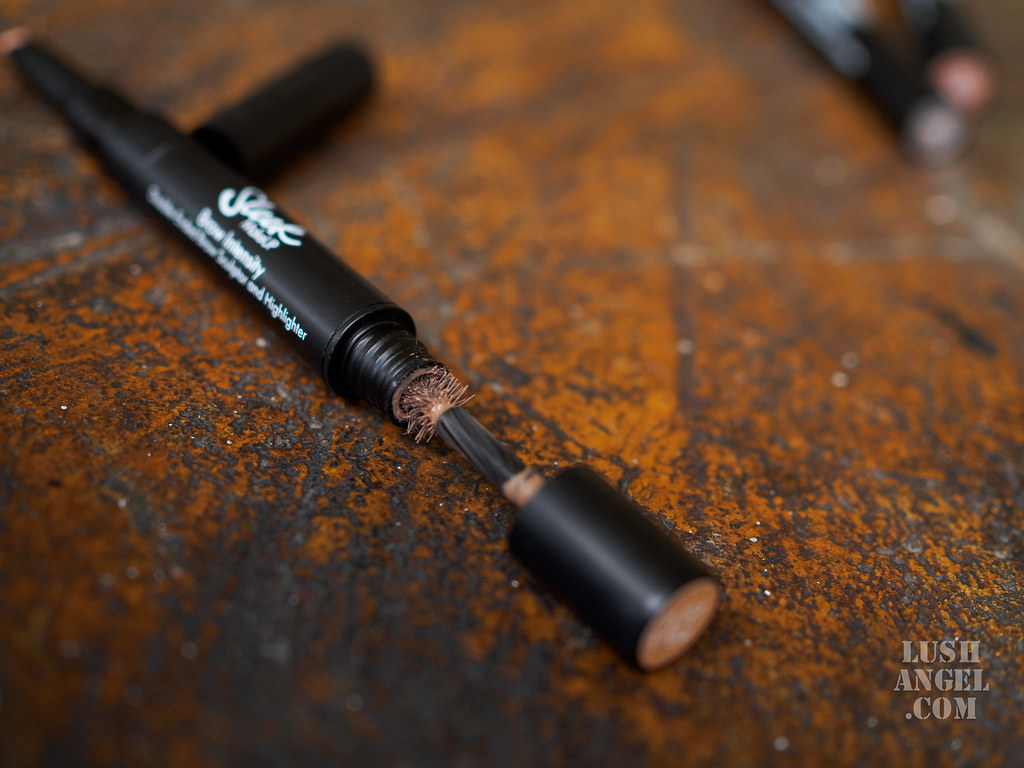
Sleek Makeup recently introduced Brow Intensity, a multi-purpose product that can shape and define brows with its unique brow gel on one end and highlighter on the other. Being a lover of brow products, I got super excited when I received this! How is it? Is it a YAY or NAY? Here’s my in-depth Sleek Makeup Brow Intensity Review:
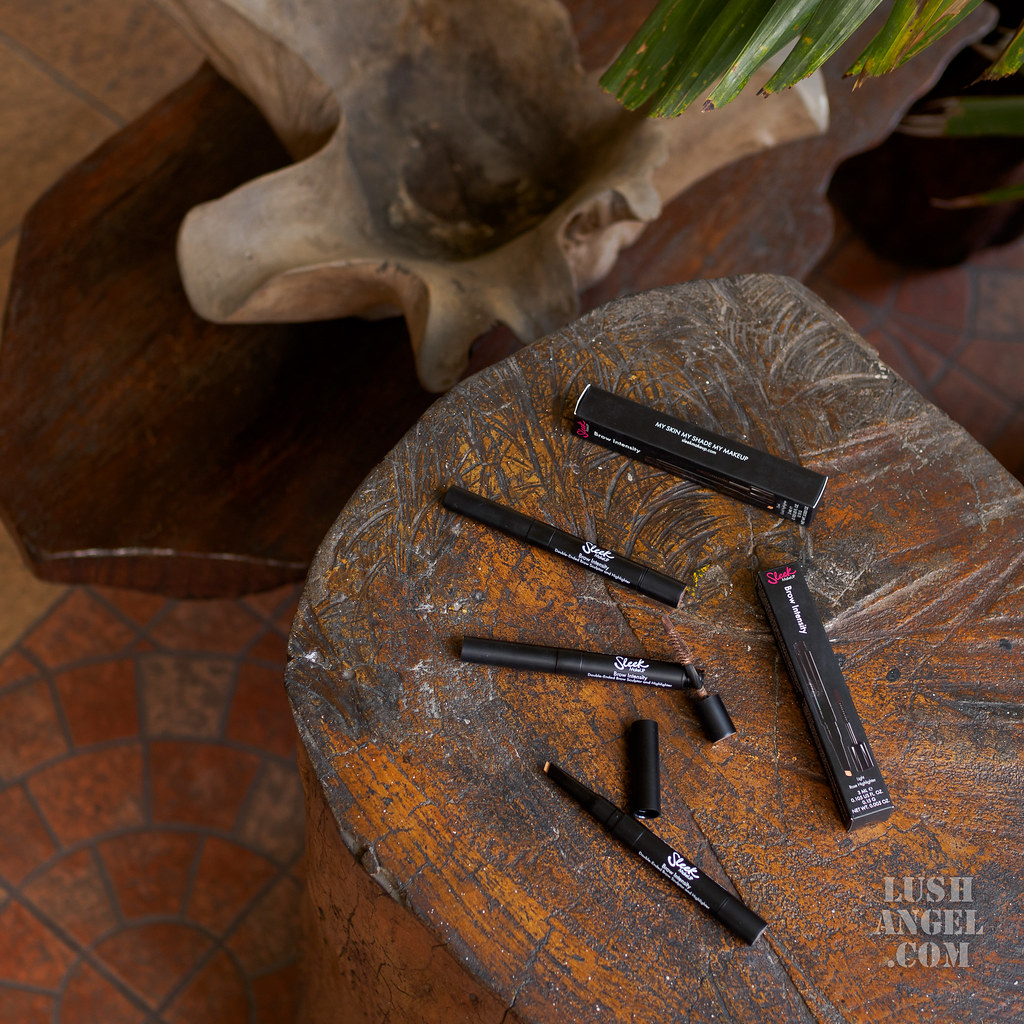
Sleek Makeup Brow Intensity Product Information
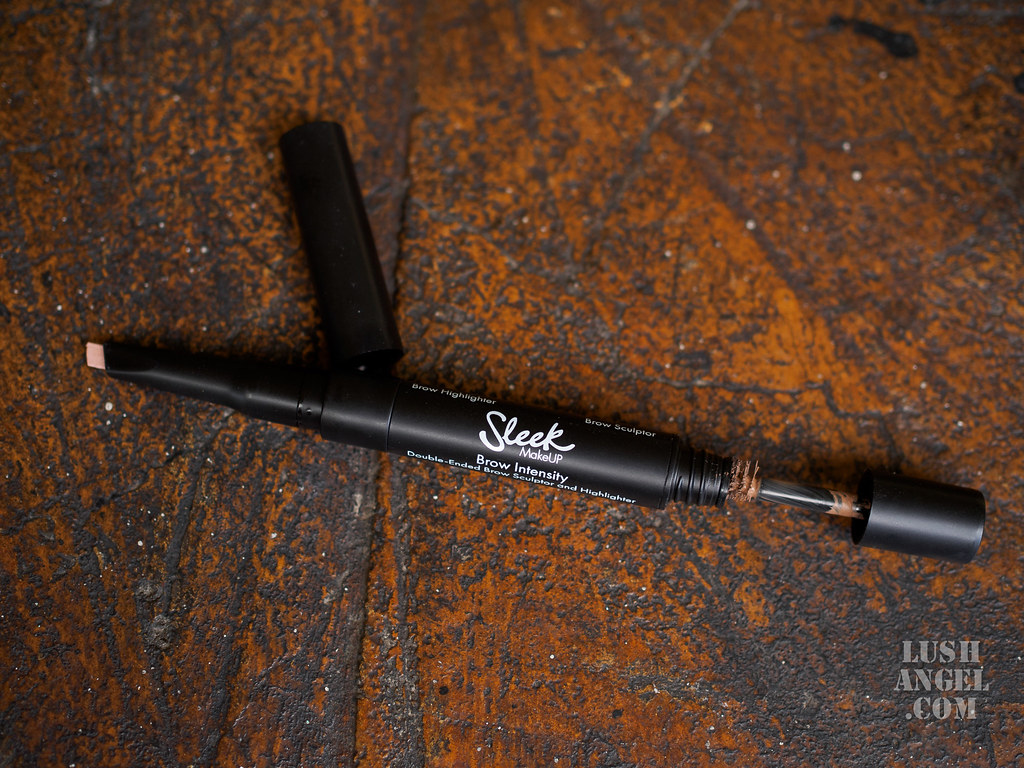
Get brows that will stay up later than you do! Shape, sculpt and define your brows your way with our innovative multipurpose brow tool. Use the tapered sponge tip to define and sculpt the brush-on fibre gel to add depth and volume, then finish with the creamy highlighter to define your arches.
Long-lasting and smudge-proof
Microfibers adhere to skin and hairs, creating natural-looking fullness and definition
I love Sleek Makeup Brow Intensity because…
- the brow gel effectively fills gaps in my eyebrows using its sponge applicator.
- the fibre-enriched bro gel can help brow strands look thicker and fuller.
- the brow gel can instantly change the color of the brow strands.
- the brow gel and the highlighter are both long-lasting. They can last the entire day, even if I have oily skin.
- the brow gel has great pigmentation.
- the brow gel does not clump the brows!
- the highlighters have light shimmer — not over-powering.
I wish Sleek Makeup Brow Intensity…
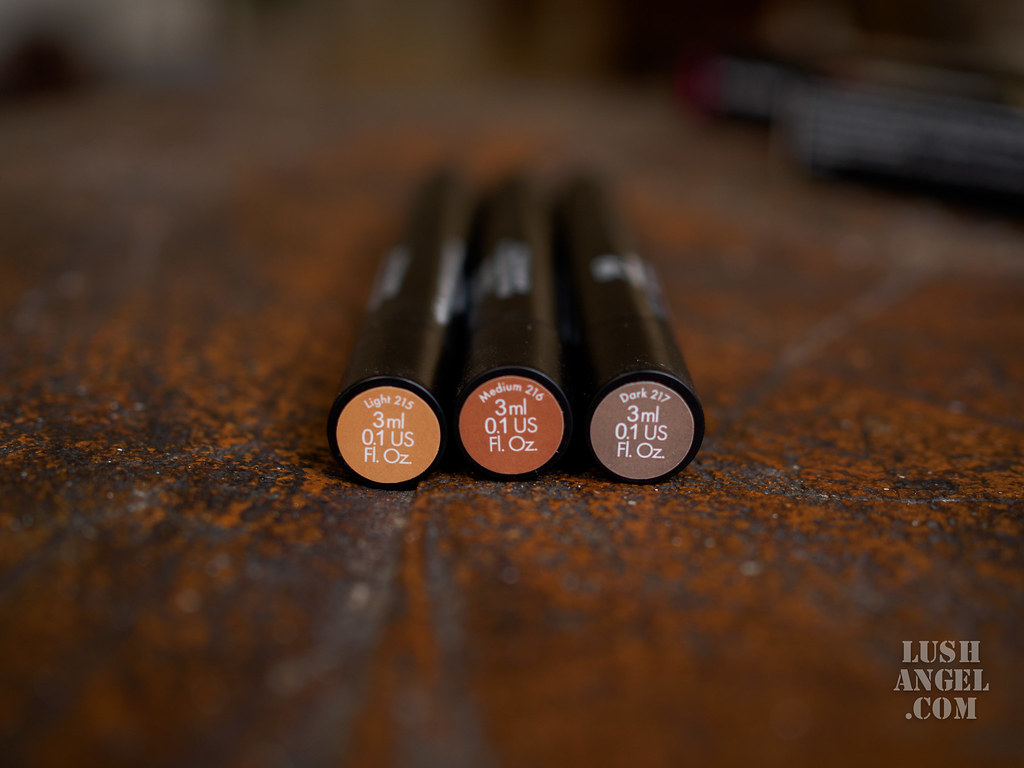
- comes in more shades. Here in the Philippines, it only comes in Light, Medium, and Dark. The ‘Light’ shade can still be a bit too dark for those with light blonde hair.
- sponge applicator has pointed tip to easily define and shape brows. See my tips below on how I define the shape of my brows.
- highlighter does not break easily.
- can work on those with shapeless brows. See my tips below how to use it if you have non-existent brows.
Tips on Sleek Makeup Brow Intensity
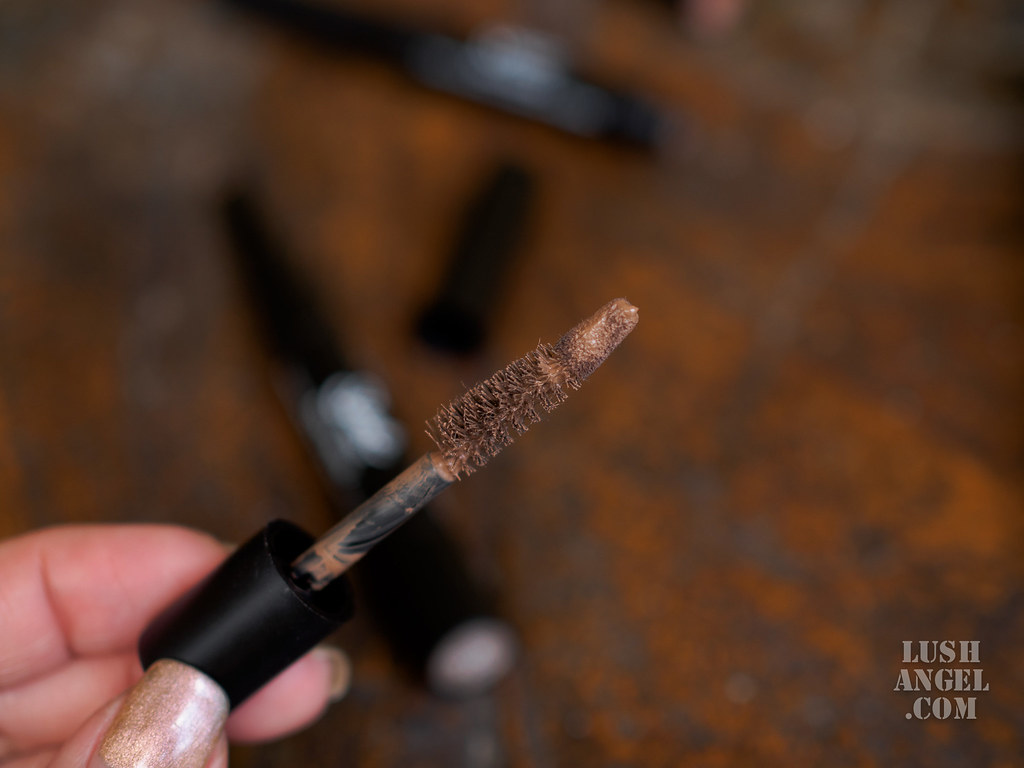
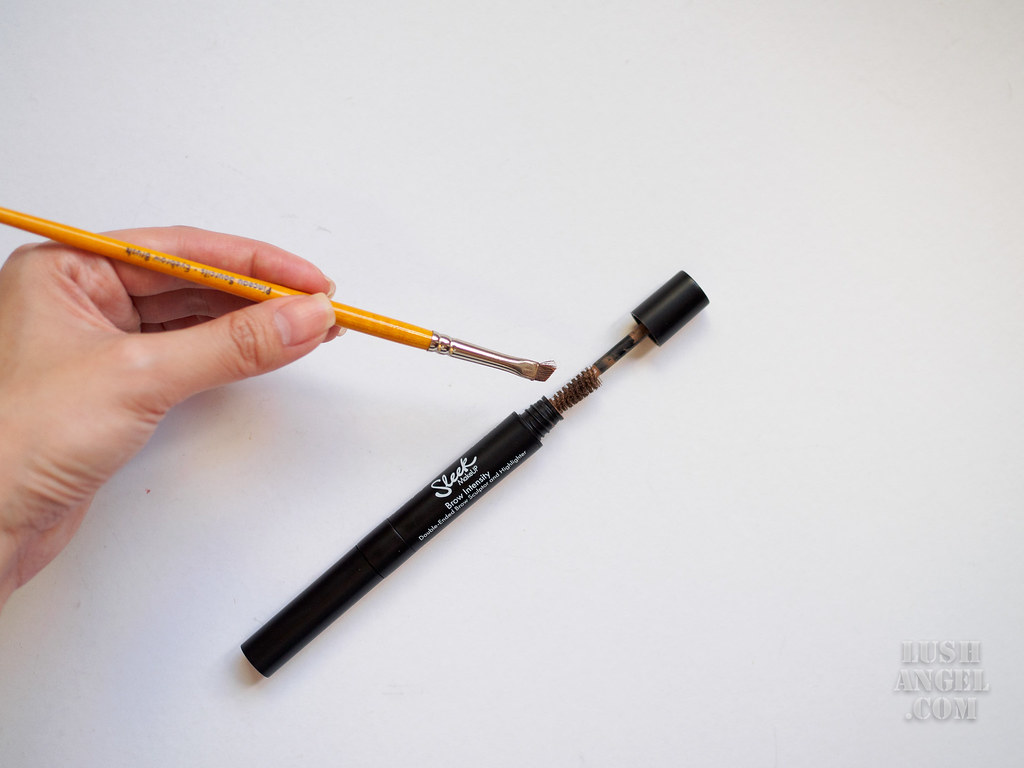
- Start by applying the brow gel with the sponge applicator. This step is to fill in the gaps and shape your brows. Note that the sponge applicator holds quite a lot of product once you pull it out of the tube so make sure to go on light when applying. Start at the center of your brows going outwards to the tail of your brows. In between, you can use a clean brow spoolie to blend the product since using the brow brush applicator will just add more product. Then, I just use whatever is left on the sponge applicator from the center going inwards.
- Next step is use the brow brush applicator to add color and thickness to the brow strands. Just brush the strands inward and outward to evenly coat the hair.
- Use a clean brow spoolie to blend or remove any excess product.
- If you want a more defined brow shape or if you have shapeless and non-existent brows, you can use an angled brow brush. Use a clean angled brow brush and get some product from the brow applicator. It’s just like applying your brow powder, but longer lasting!
- You can also add dimension to your brows by using two shades. This is also a good trick if you can’t blend the product well or if you don’t have a clean spoolie on hand. I use the ‘Medium’ shade from the center of my brows to the tail and use the ‘Light’ shade inwards. For more natural-looking brows, I also use the ‘Light’ shade to outline my brows. This gives a “faded” or “blended” effect.
- For this product, remember that less is more!!!
- For the highlighter, expose only a small amount of product and apply gently to avoid breaking the tip.

- Use the highlighter on your brow bone and inner corner of the eyes too.
Sleek Makeup Brow Intensity Verdict
I won’t deny, I got intimidated the first time I saw the unique applicator of Sleek Makeup Brow Intensity. I initially thought I would have a hard time applying the product and create natural looking brows. I was wrong. The first time I tried it, I immediately got the feel of the product and knew how I would apply it – well, maybe because I’ve been exposed to too much brow products lately. But I think it’s quite easy to use, even if you’re new in the brow game. You can start of by simply brushing your brow strands with the brow brush applicator and later on experiment with the sponge.
Although the unique sponge and brush applicator is useable on its own, I personally like using an angled brow brush if I have more time to spare to do my brows. But on days when I’m really in a hurry, I just use the unique applicator and I’m good to go in a matter of seconds!
I highly recommend Sleek Makeup Brow Intensity to those who are looking for a long-lasting brow product. It’s a product that’s more useful to those with well-groomed and shaped brows. For those with non-existent brows though, it looks perfect as long as an angled brow brush is used to apply.
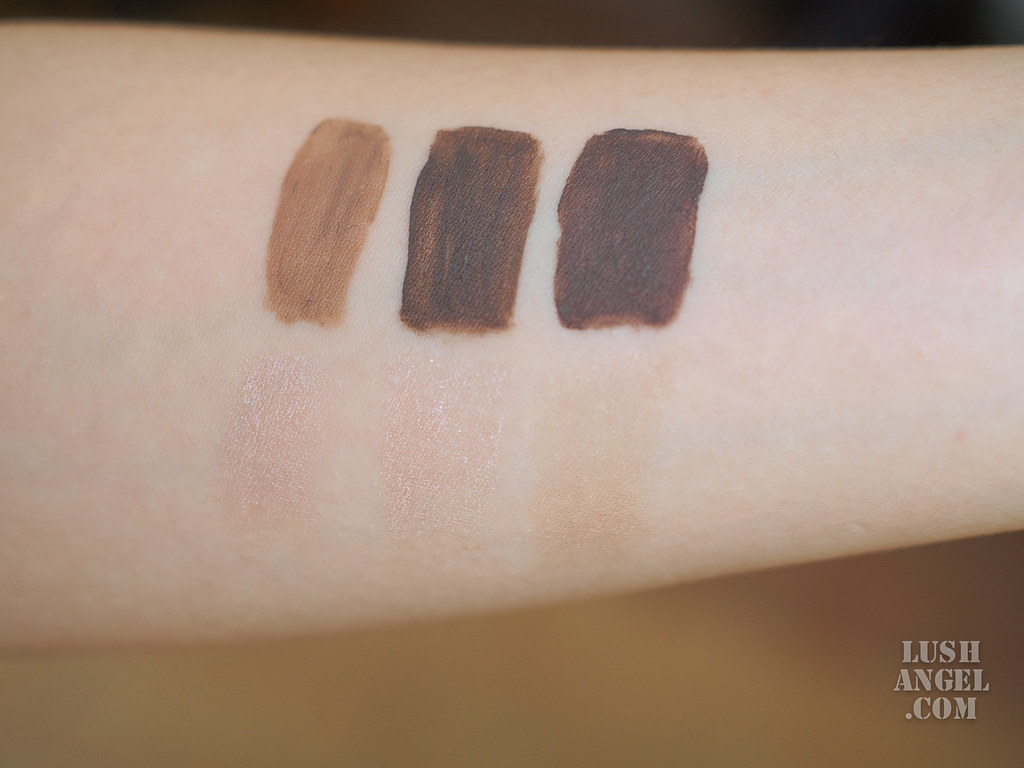
left to right: Light, Medium, Dark brow gel
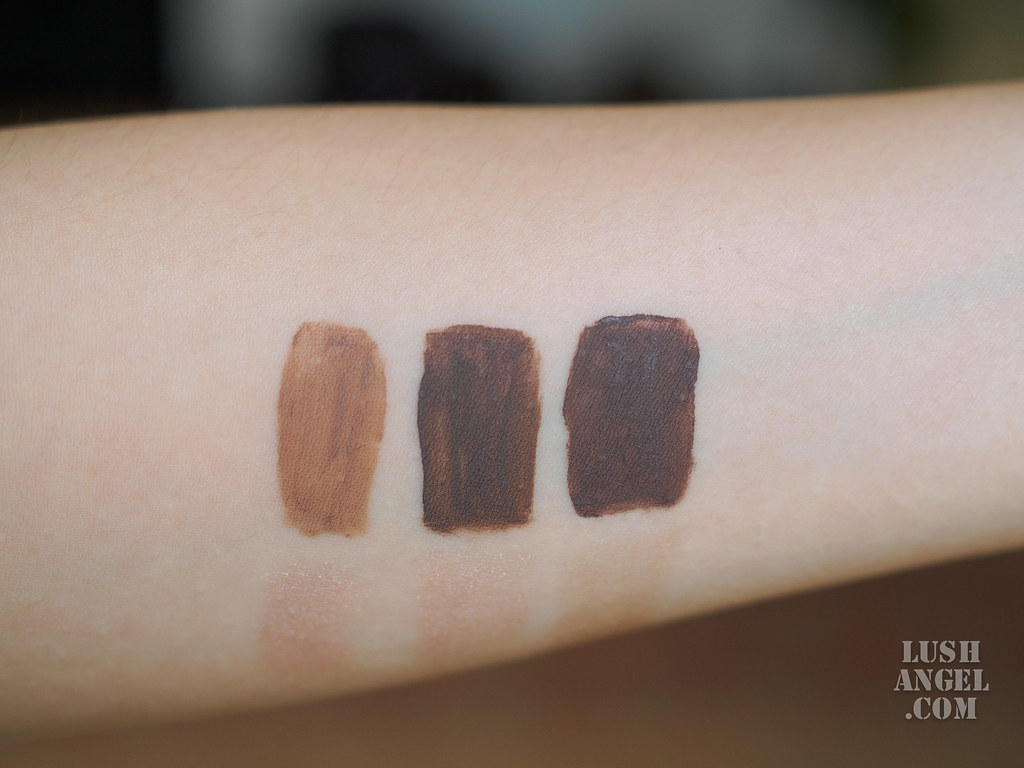
left to right: Rose (light), Rose (medium), and Gold (dark) highlighter
used Light and Medium Sleek Makeup Brow Intensity on my brows
Sleek Brow Intensity is priced at PHP 695 here in the Philippines and is available in selected department stores.
For instant beauty, fashion, travel, foodie, or random updates from me, LIKE lushangelblog on FACEBOOK, FOLLOW lush_angel on TWITTER and lush_angel on INSTAGRAM.
