One of my pet peeves is having nice nails. In fact, when I was in college, I can’t go out without nail polish on. I get tired of my nail color easily that I try to change it every week. I also got hooked with nail arts, stickers, and fake nails (yes, even if they have weird sizes). Let’s just say, I’m willing to try anything when it comes to beautifying my nails. Ummm… Okay fine, beautifying in general! Well, who doesn’t want to be beautiful and presentable all the time? 😉 So when my dear friend, My Fashion Juice, introduced me to Sally Hansen Salon Effects, I was more than ecstatic! 😀 Thank you hunny! 😀
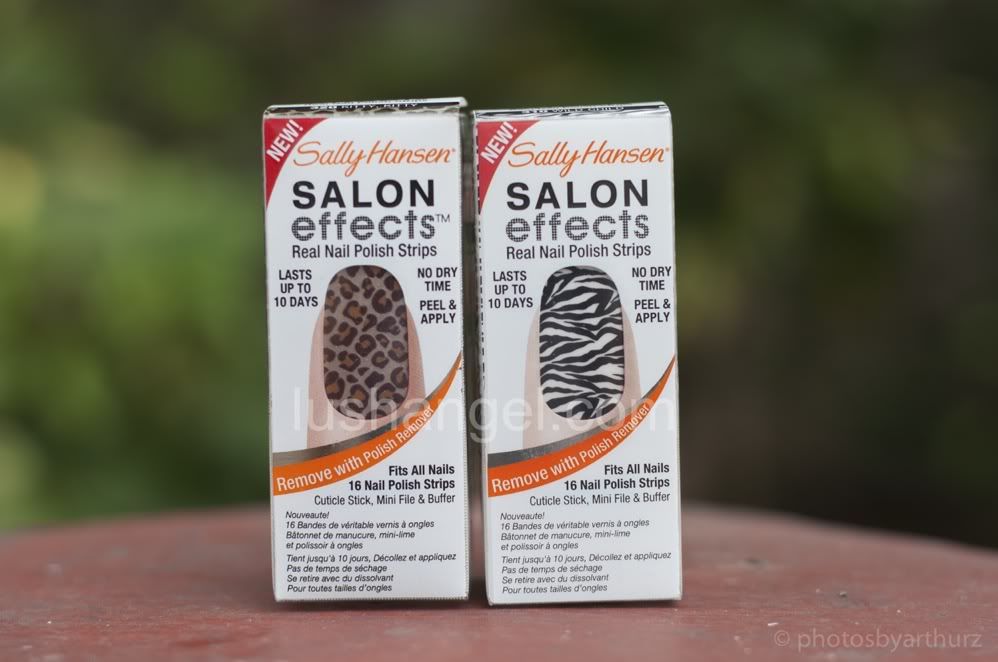
I also had hesitations of trying it out. At first glance, I thought it was similar to fake nails since the box contains several nail polish strips. I don’t want to deal with weird sizes of nails anymore! But when I learned that I can easily shape the strips to exactly fit my nails, my next thought was, “that must be extremely hard to do”. Again, for the sake of making my nails look pretty, I gave this nail polish strips a shot. To my surprise, I finished in just 15 minutes (minus the cleaning of my nails, which I already did the day before)! Let me first give a product review, followed by a step by step instruction on how to apply Sally Hansen Salon Effects just to give you an idea.
Product Information
Sally knows nails are the best accessory. Now, Sally makes it easy to get a salon effect anytime, any place. It wears like nail polish because it is nail polish. No dry time, so you’re ready to go.
I love it because…
- it comes in a small and handy packaging with all the information needed.
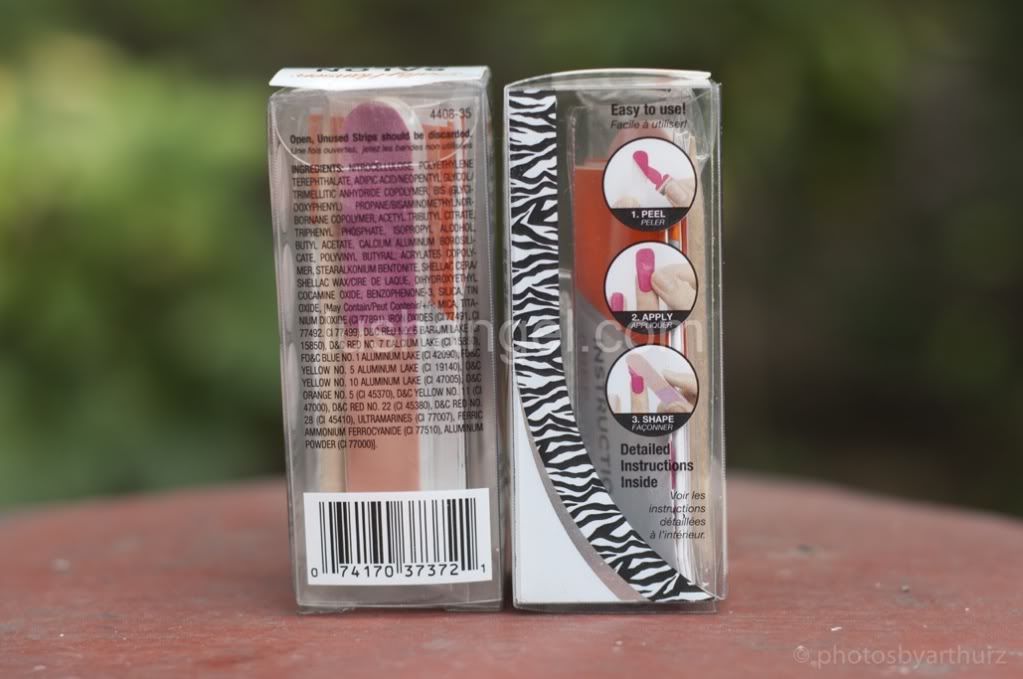
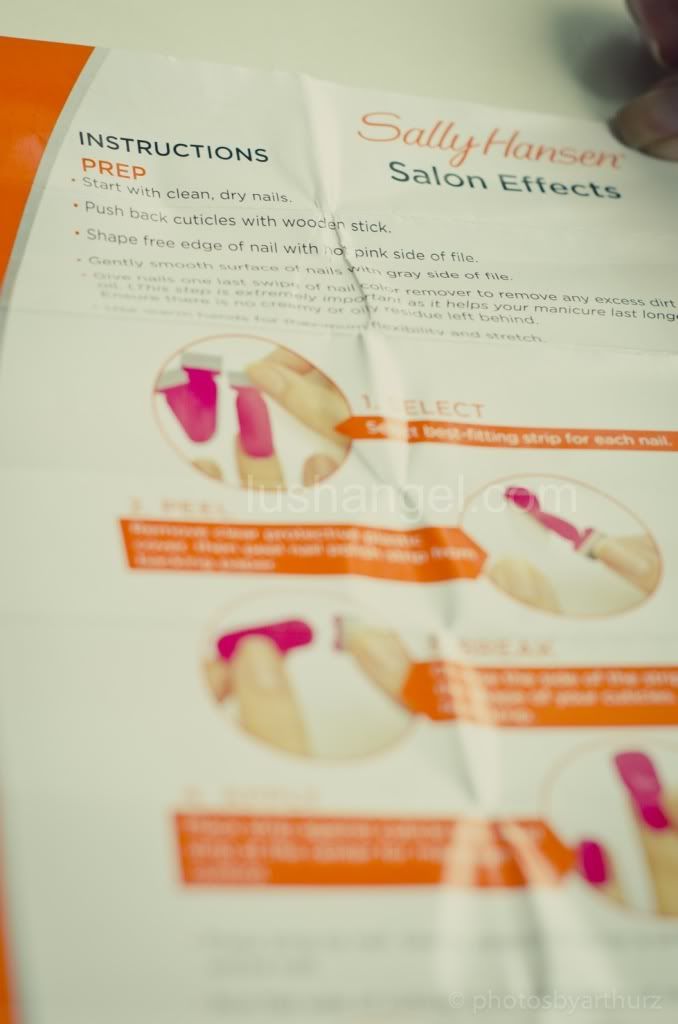
- a box contains the following: 2 packets with 8 nail polish strips inside each, cuticle stick, mini file & buffer, and detailed instructions
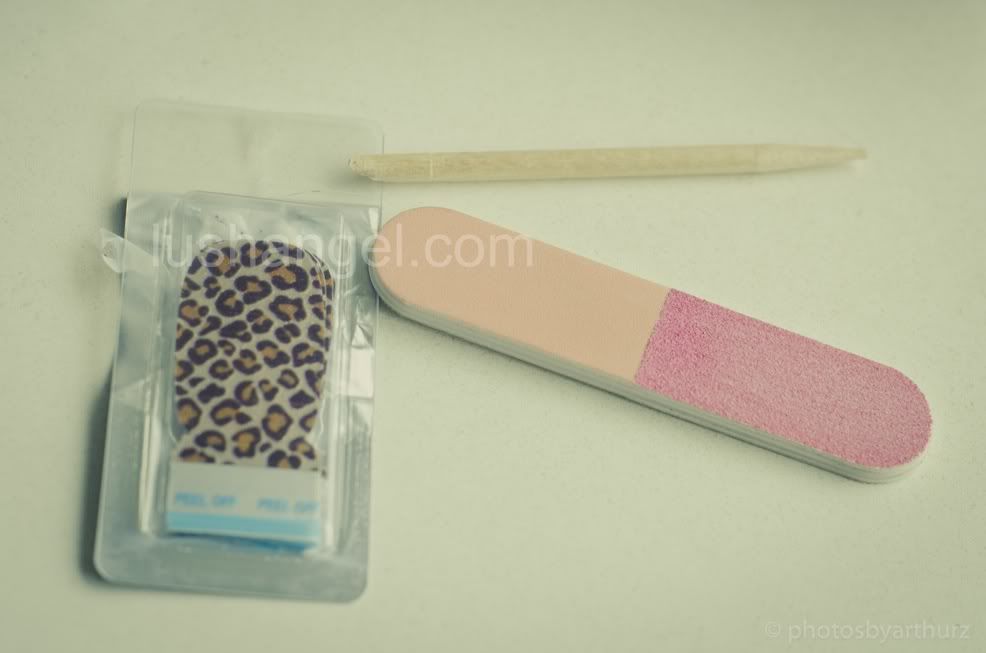
- it can last up to 10 days. In my experience, it lasted up to 2 weeks! I just had to remove it since I can already see the growth of my nails.
- there’s no drying time. After applying, I can do whatever I want. I don’t need to be extra careful when I have to get something inside my bag (a usual dilemma after a manicure). 🙂
- I can use one box twice! How? I will explain later on.
- I can finish 10 nails in just 10 to 15 minutes.
- I can easily take it off using a regular nail polish remover.
- it’s available in different designs.
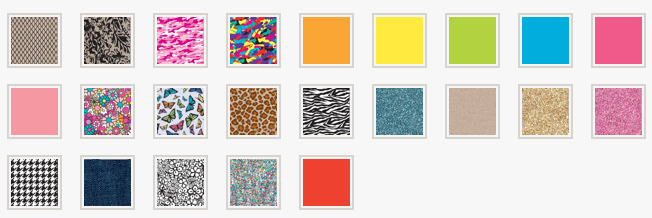
I wish…
- it’s available here in the Philippines. I got mine from a friend. She only has a few stocks available. If you’re interested, just drop me an e-mail at [email protected].
- it’s not that pricey. It’s $9.99, plus tax in the US, and I would expect it to be more expensive here in the Philippines. For those living outside the Philippines, this could be ideal since manicure/ pedicure is pretty much expensive in other countries.
- the strips don’t dry up easily. Once the packet is opened, the strips must be used right away. The extra strips can’t be kept for future use since they don’t stick when they dry up.
Conclusion
No doubt, Sally Hansen Salon Effects is one of a kind. I really love how chic and trendy the designs are. Wherever I go, people (yes, both ladies and gents) look and ask about my nails. They’re obviously pretty and unique. It’s also very easy to apply. I tried applying it an hour before my event and I was surprised to finish it in just 15 minutes! What’s even more impressive is it doesn’t chip right away. Usually, stickers come off in just a matter of 3 days. I couldn’t believe that after a week, the edges were still intact- very little or no signs of chipping! I just had to remove it since the growth of my nails can already be seen. If not for the hefty price tag, I’d definitely be collecting most of the designs.
Application Tips
Here’s a video from Sally Hansen. I also have my own step by step instruction below to show how one box can be used twice. 🙂
Ideally, one box is made for one use only. As said earlier, it contains two sealed packets with 8 nail polish strips inside each (total of 16 strips). The 6 strips are supposedly extras for size variations, or in case you made a mistake in the application. But if you can be economical, why not?! 😀 I use one strip to fit two of my nails. This idea was actually suggested by my friends, Cris and Carla. Thank you again, my dears! 😀 This means, one box for two uses! 😀 Well, you may think that you can even use it up to three times if you can consume exactly 5 strips each use. The problem is, the strips dry out easily once you open the packet. It is therefore important to open the packet only when you’re going to use the strips already. Now, here’s my way of doing it. There’s just a little variation from the instructional video of Sally Hansen.
- Start with clean and dry nails. Push back cuticles with wooden stick provided. Then, shape the nails with the hot pink side of the file.
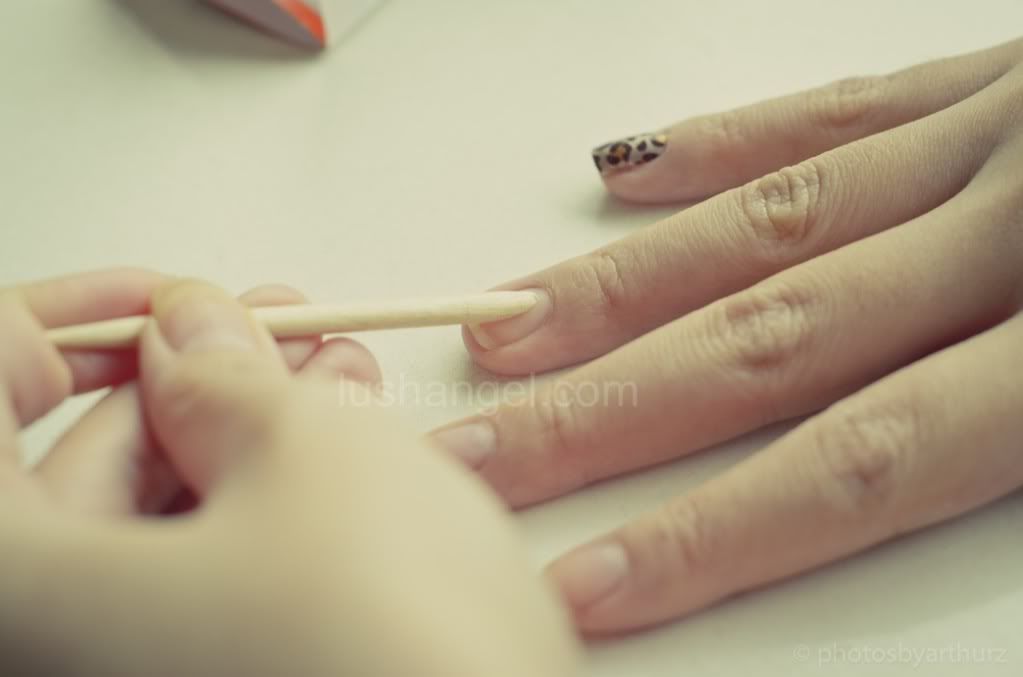
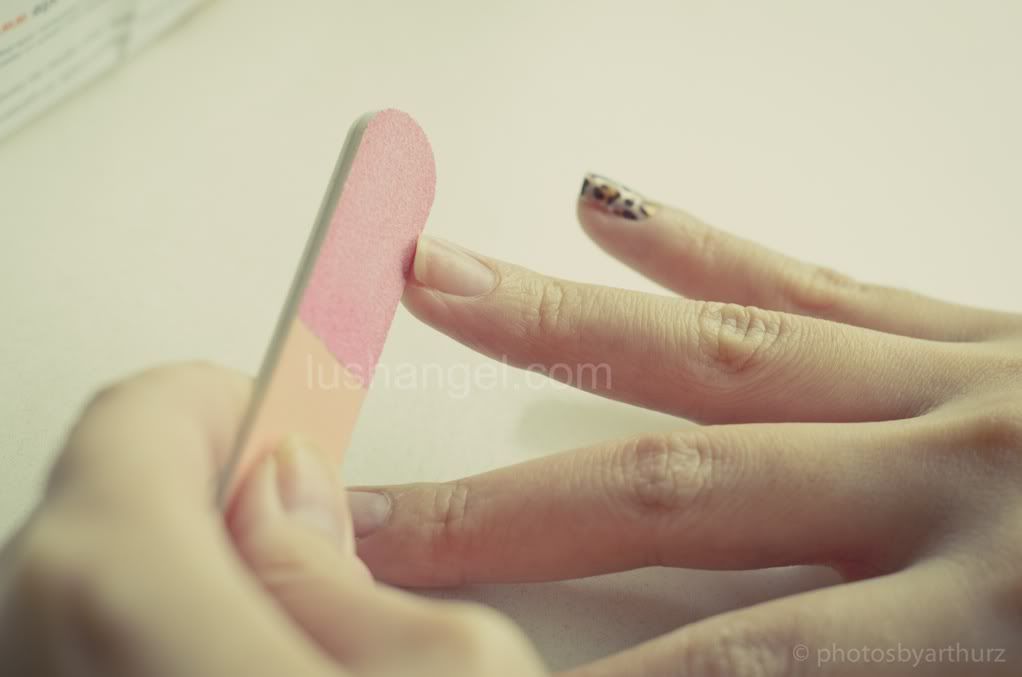
- Gently smooth surface of nails with gray side of the file. Then, give nails one last swipe of nail polish remover to remove excess dirt and oil. Ensuring there is no creamy or oily residue left behind will help your manicure last longer.
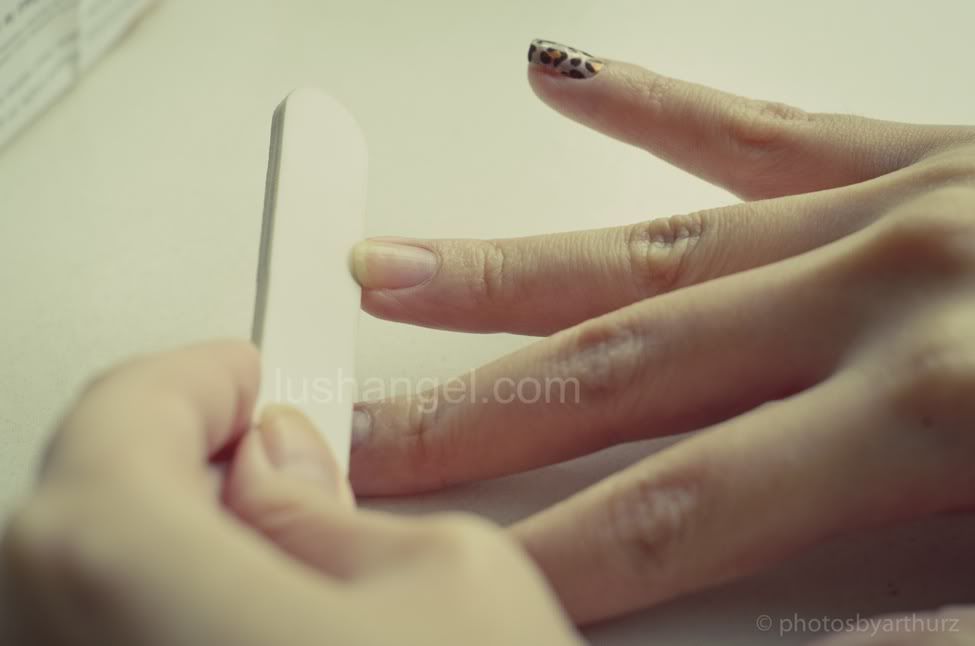
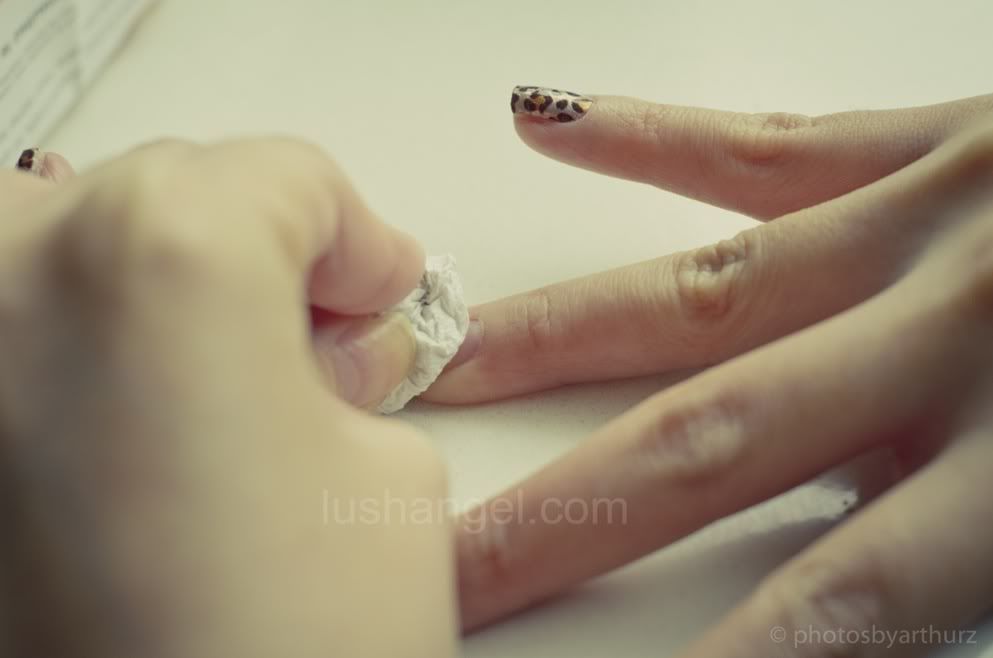
- Select best-fitting strip for each nail.
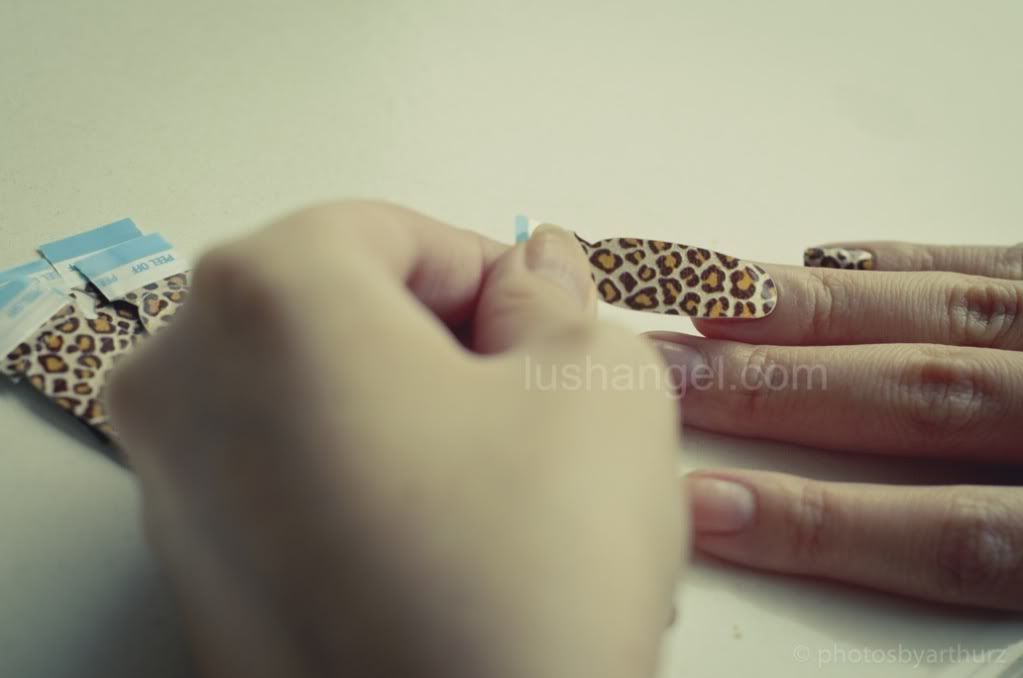
- Remove clear protective plastic cover.
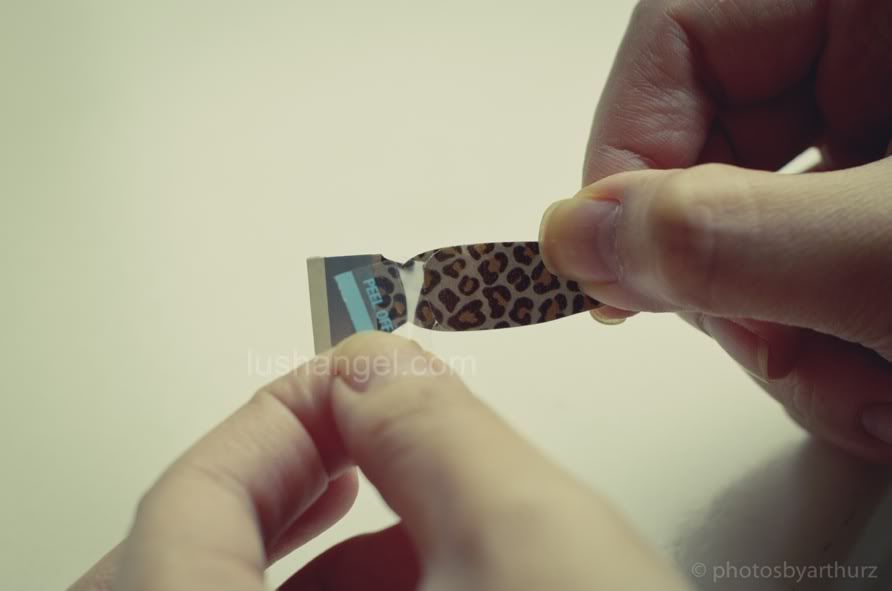
- Peel half of the nail polish strip from backing paper. This is to ensure that the other half won’t dry up right away.
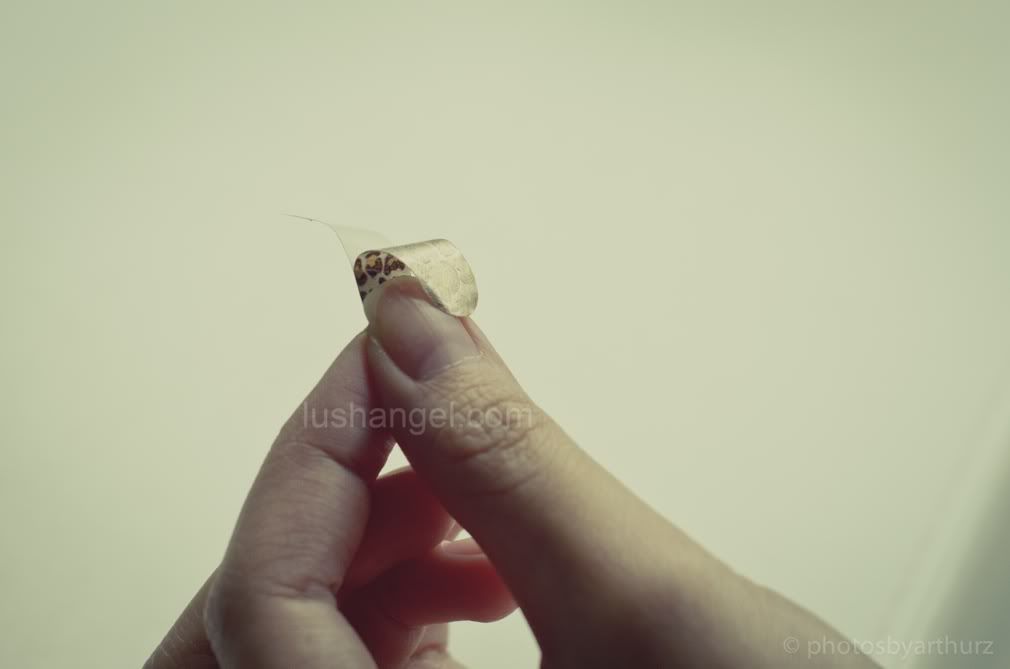
- Break silver tab from strip.
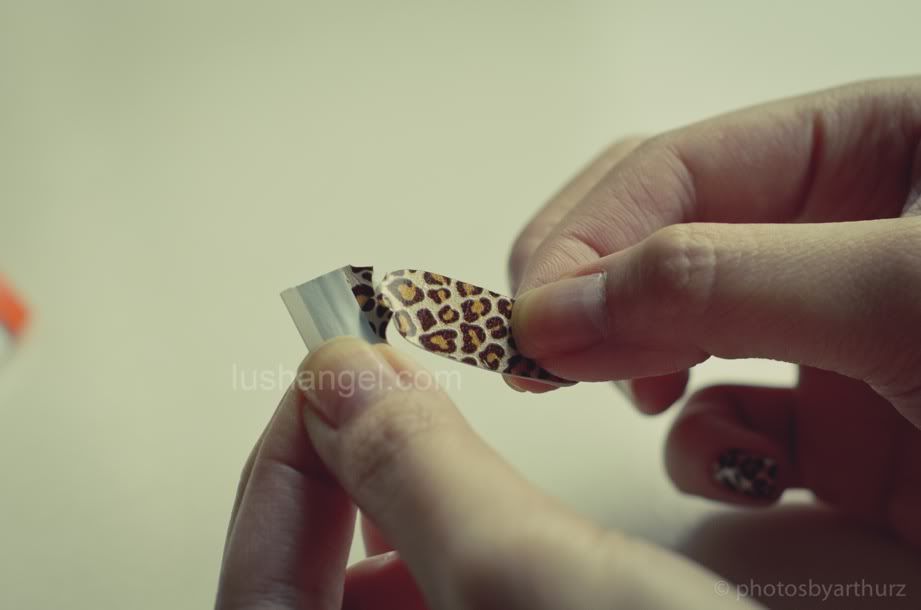
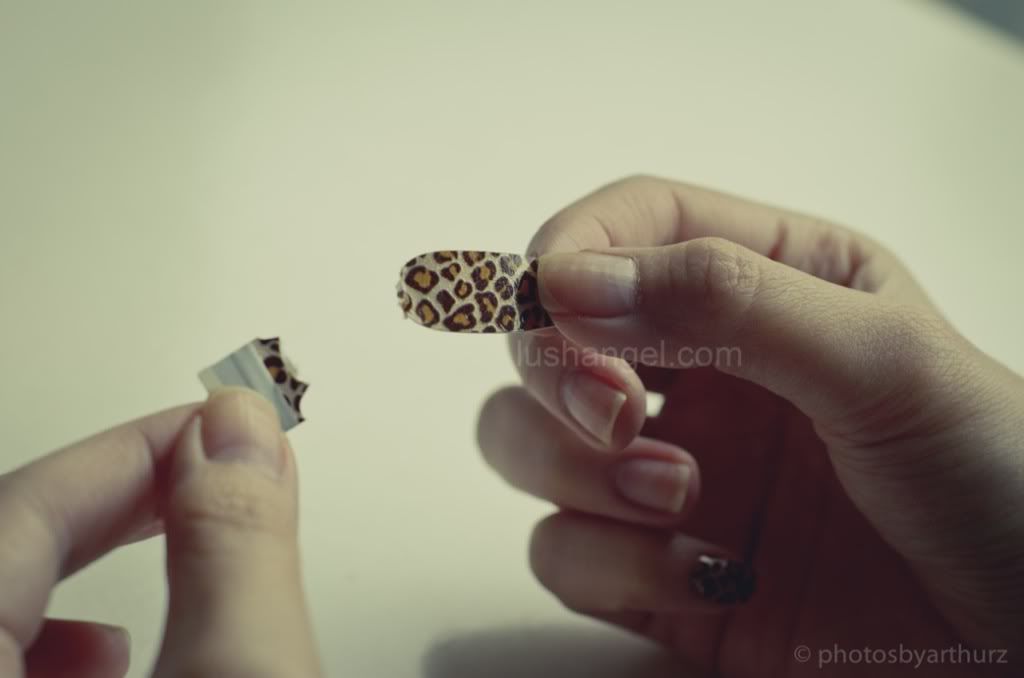
- Place strip against cuticle line.
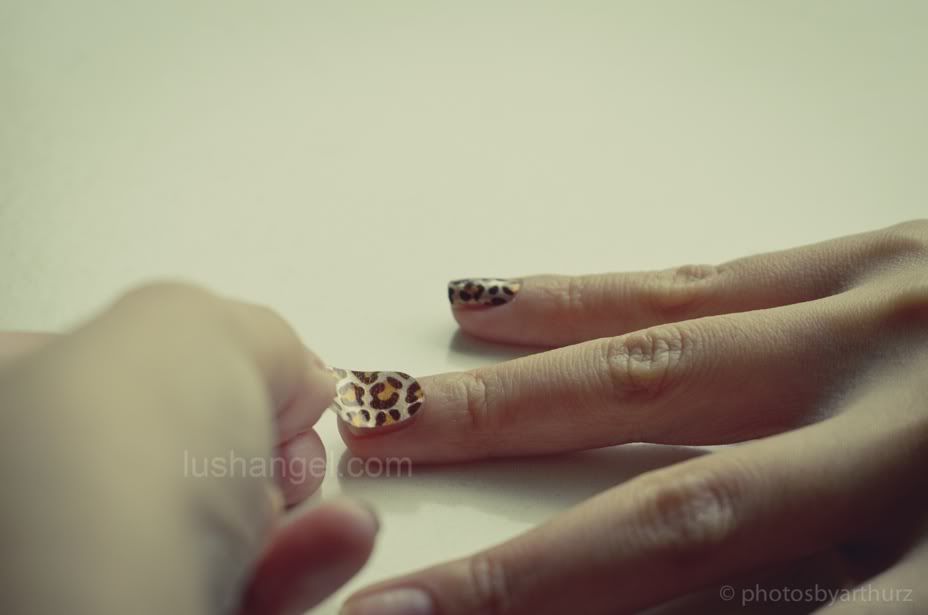
- Press strip to nail and gently stretch strip for a perfect fit. Firmly smooth over entire nail. Run flat side of cuticle stick along edge of strip to firmly bond strip to nail.
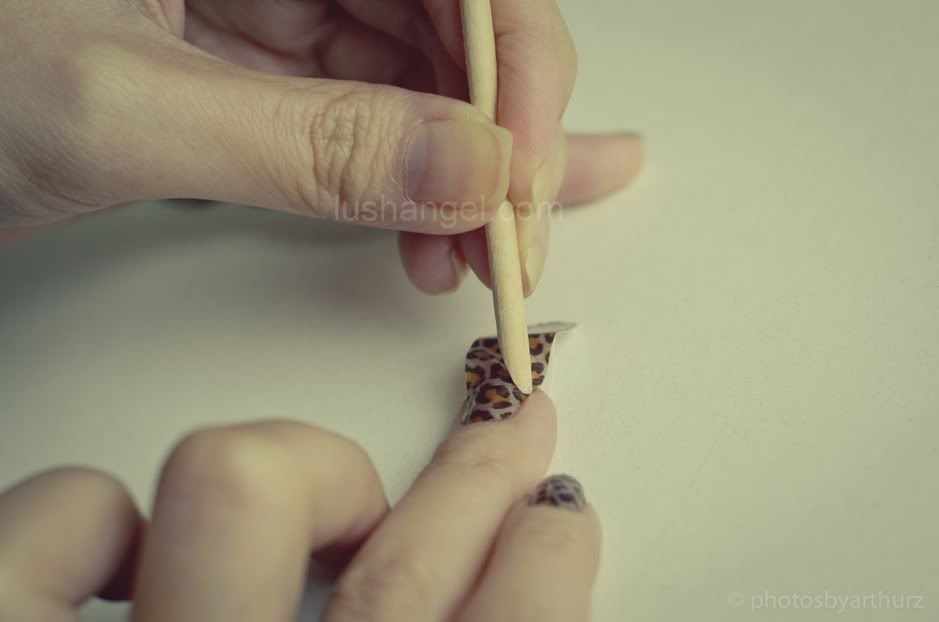
- Smooth excess over nail edge, forming a crease around the edge of the nail. Gently file away excess from nail edge using light pink side of the file. If there are excess on the sides of the nail or even in the curve of the cuticle, just keep on pressing with the flat side of the cuticle stick. The excess would eventually come off.
Ooops, I think I used the wrong side of the file in this photo. I should have used the light pink side (or more of the peach color), but the bright pink side worked for me too. Hehe! 😀
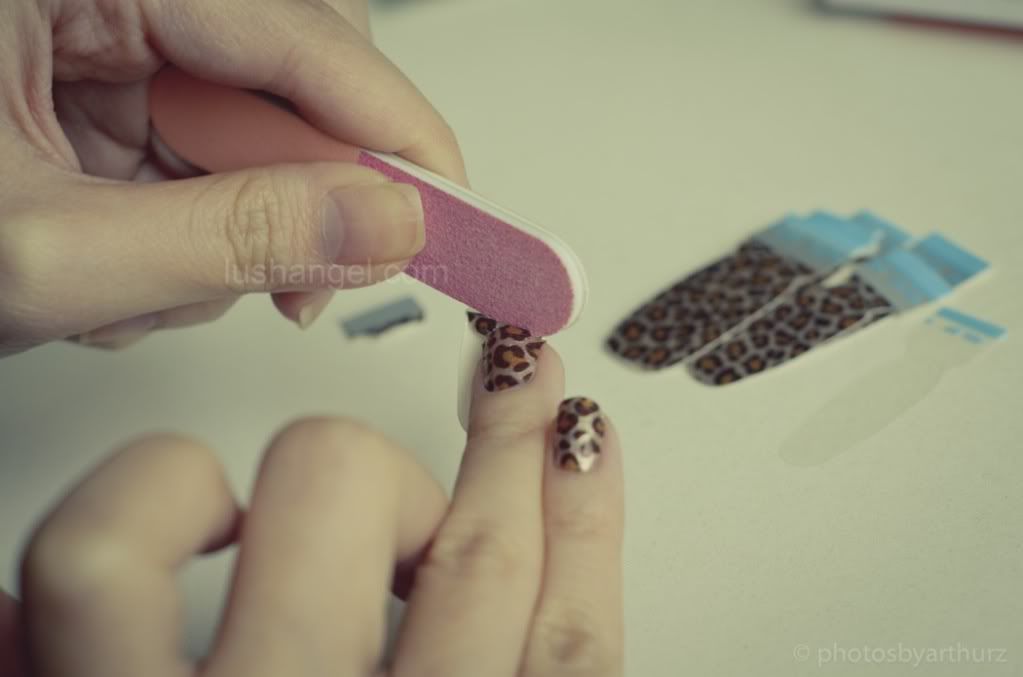
- Take off the backing paper completely and use the other half of the strip on the other hand. Place the other rounded end against the cuticle line and re-do the instructions above.
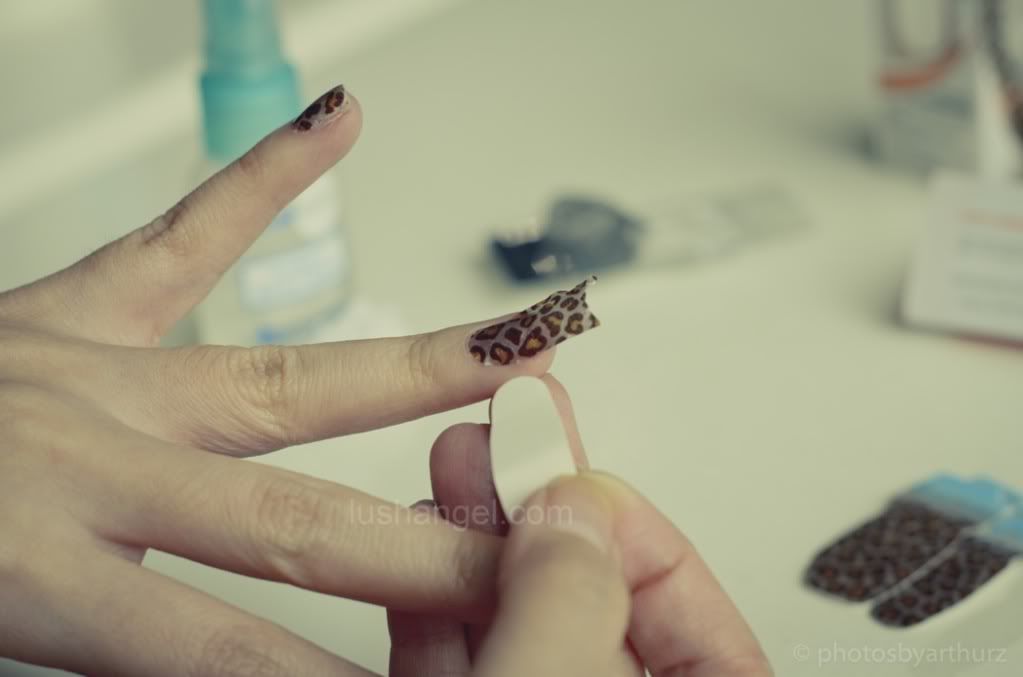
Result… RAWRRR! 😀
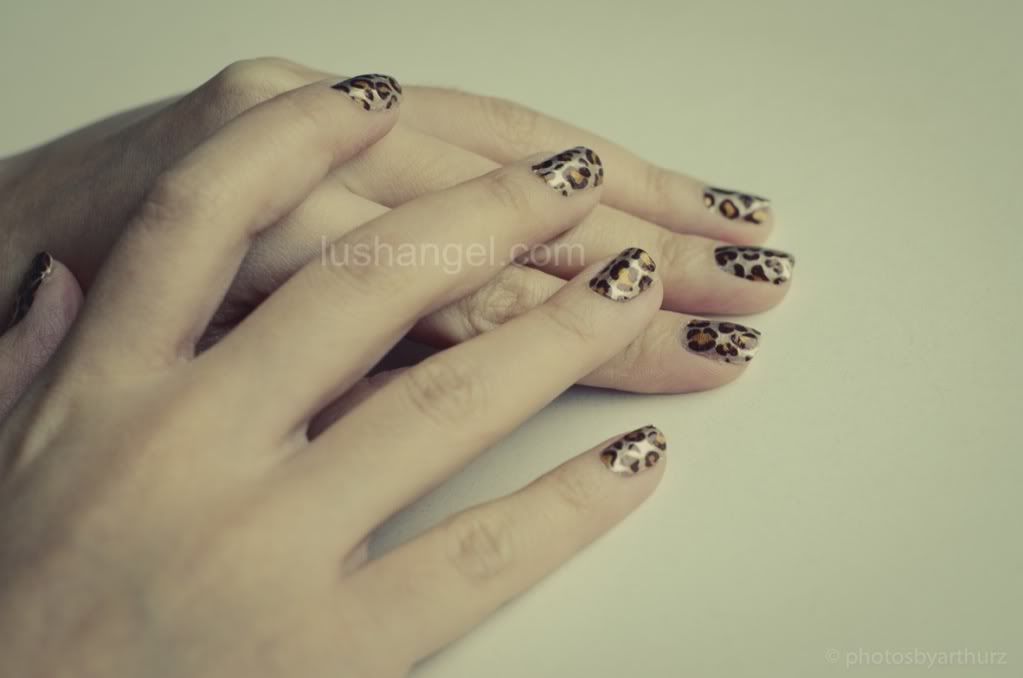
So, what do you think? 😉


wow! Very nice! Even though I think I still cannot pull it off haha! 🙂
why not? i’m sure you can! they have other designs too that’s more subtle, but i still suggest to go for the uncommon designs. 😀
very nice! this article is so helpful! i actually made my tips too 🙂
thanks ella! 🙂