
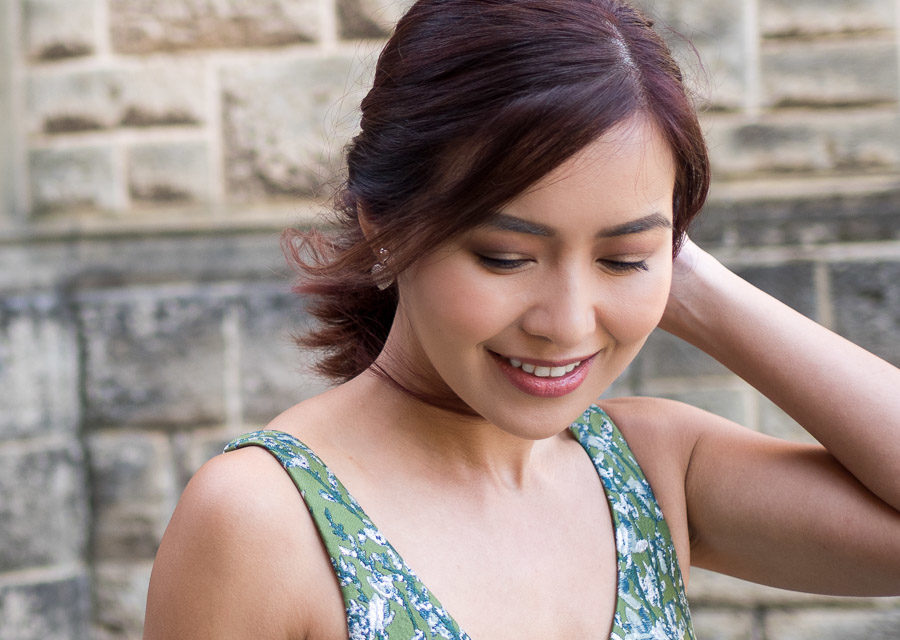
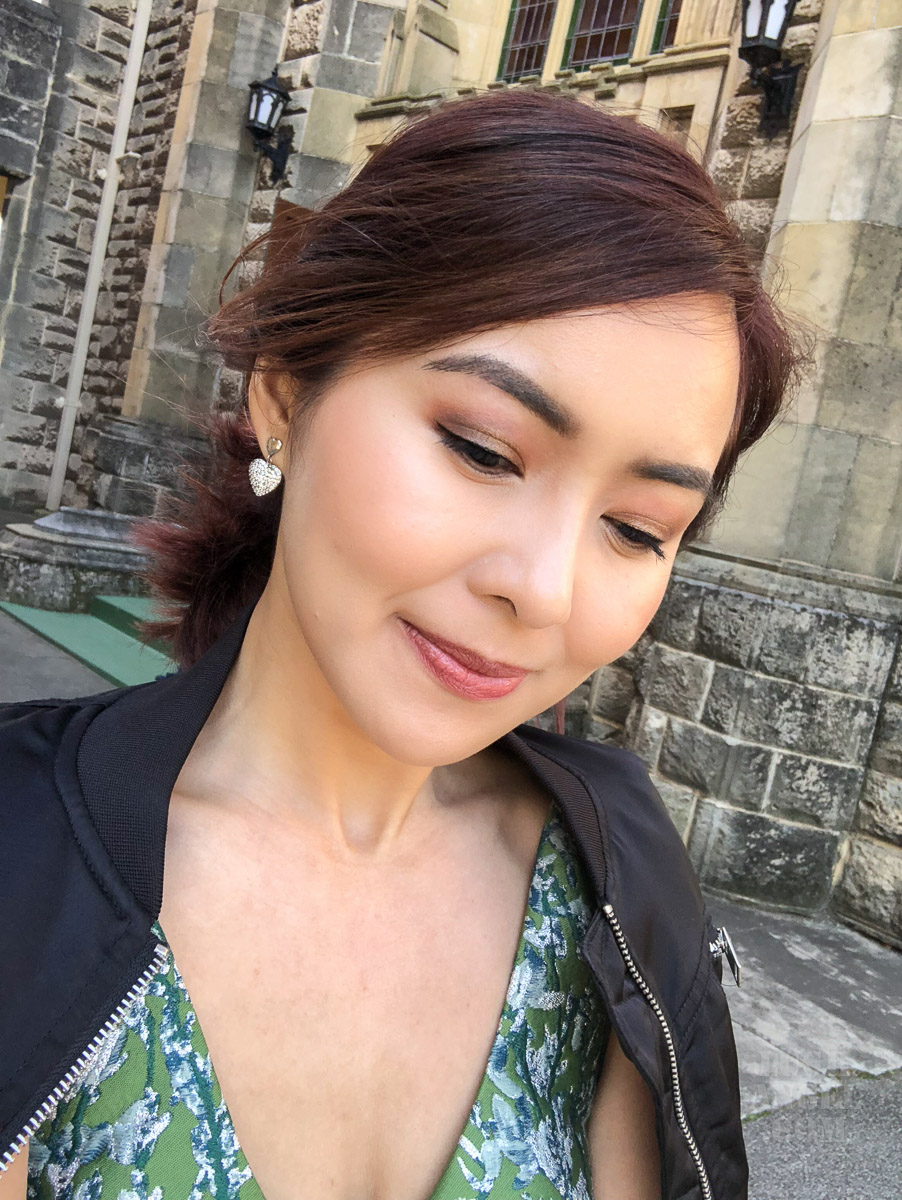
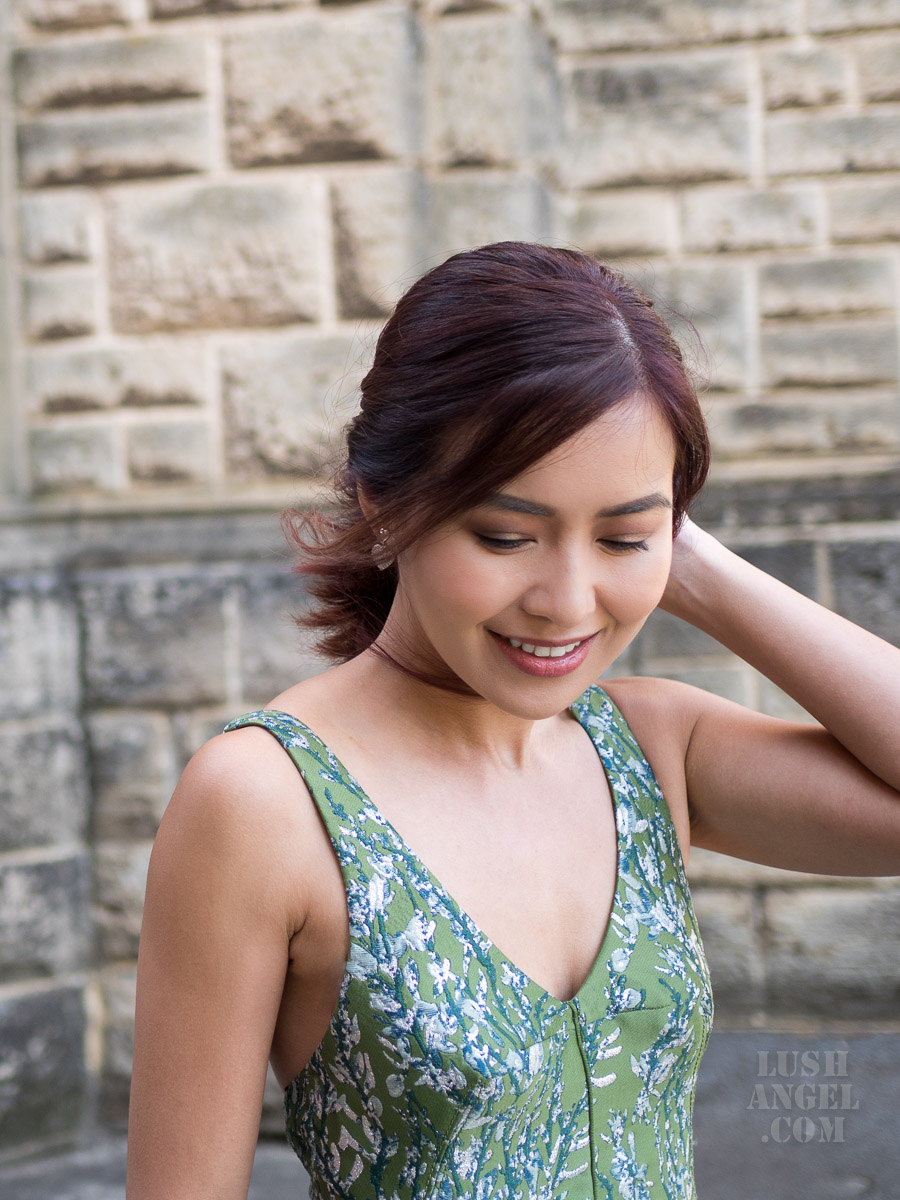
It’s wedding season once again so I thought of sharing a makeup look in case you’re attending one anytime soon.
Of course, this look is not just for weddings. You can also recreate this for other events or parties. I just made sure to use neutrals to suit most skin tones. Remember, use your tried and tested products when attending special occasions. This is not a good time to experiment or try something new. Also, go for long-wearing, sweat-proof, and tear-proof products.
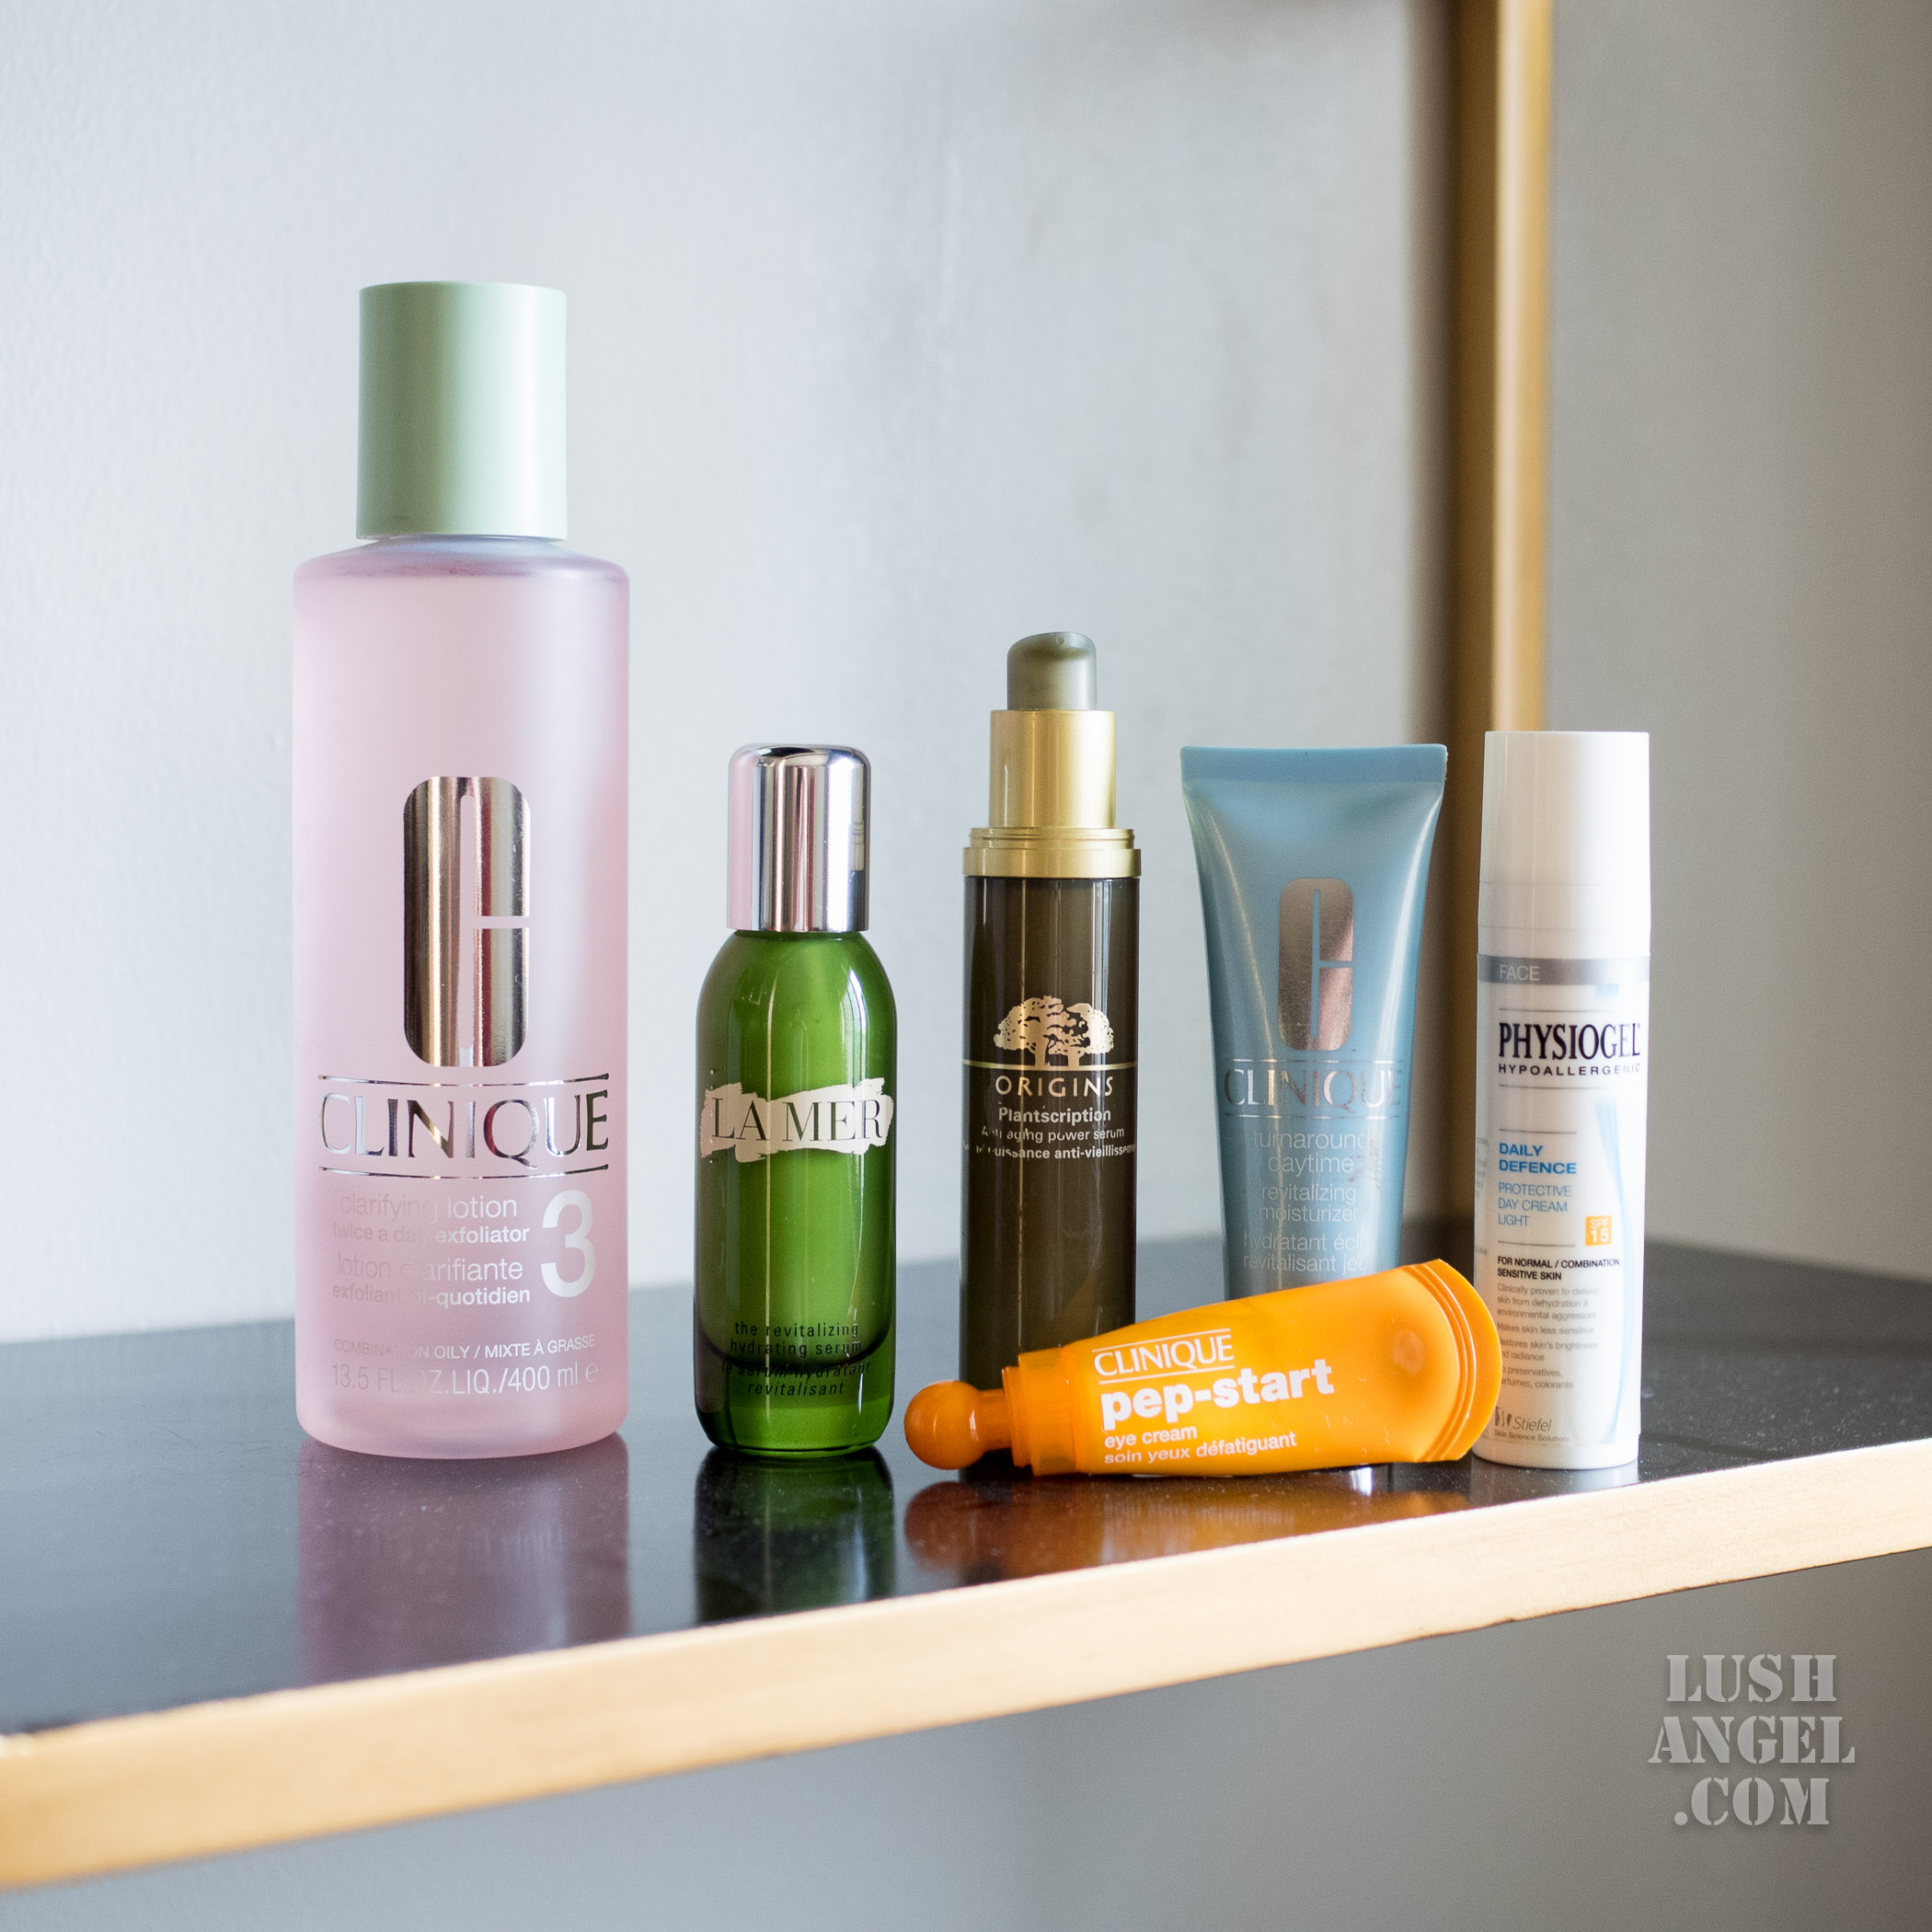
- Prep skin. This step is very crucial. Skin should be healthy for the makeup to adhere well to the skin, therefore skin prep should not only happen on the day itself. Don’t skip your skin care routine for a week or so. I personally like getting Honey Almond Facial at Facial Care Centre a week before attending a special event for a smoother canvas. Then, use face mask that could help add radiance to your skin the night before. On the day itself, don’t forget to cleanse, tone and moisturize before adding any makeup. When you have great skin, you’ll need less makeup– which also means less chances of caking.

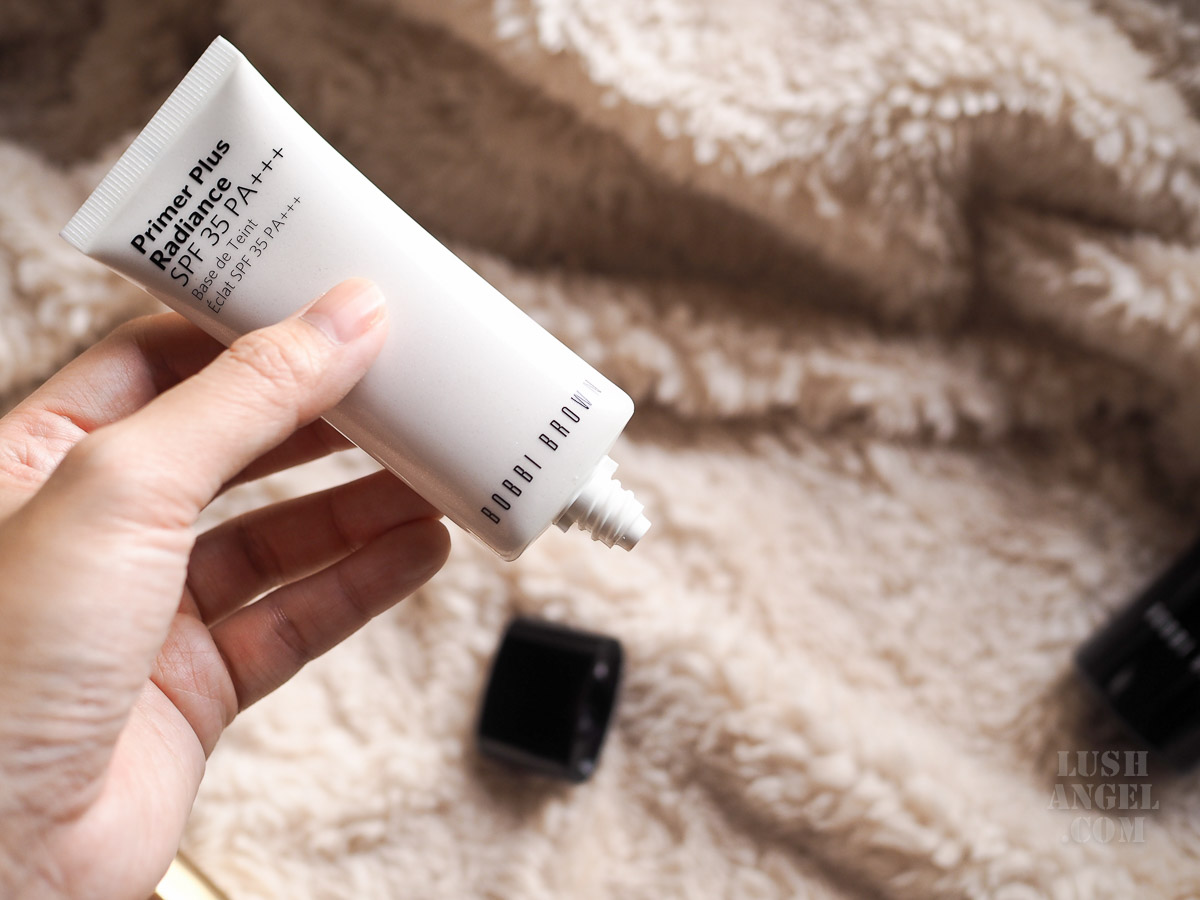
- Prime. I specifically use silicone-based primer on special occasions like this. In this look, I used Benefit POREfessional to minimize large pores. If you have dry skin, go for hydrating primers, such as Bobbi Brown Primer Plus Radiance SPF 35 from their newest Primer Plus Collection.
- Foundation is the key for a flawless-looking skin. It must be long-wearing and sweat-proof. You wouldn’t want to use foundations that give you white cast too in photos. I suggest, stick to your tried and tested foundation. This is not the time to try out something new. My personal go-to foundation is Estee Lauder Double Wear Stay-In Place Makeup. If you have dry skin, you can use Estee Lauder Double Wear Nude Water Fresh Makeup.
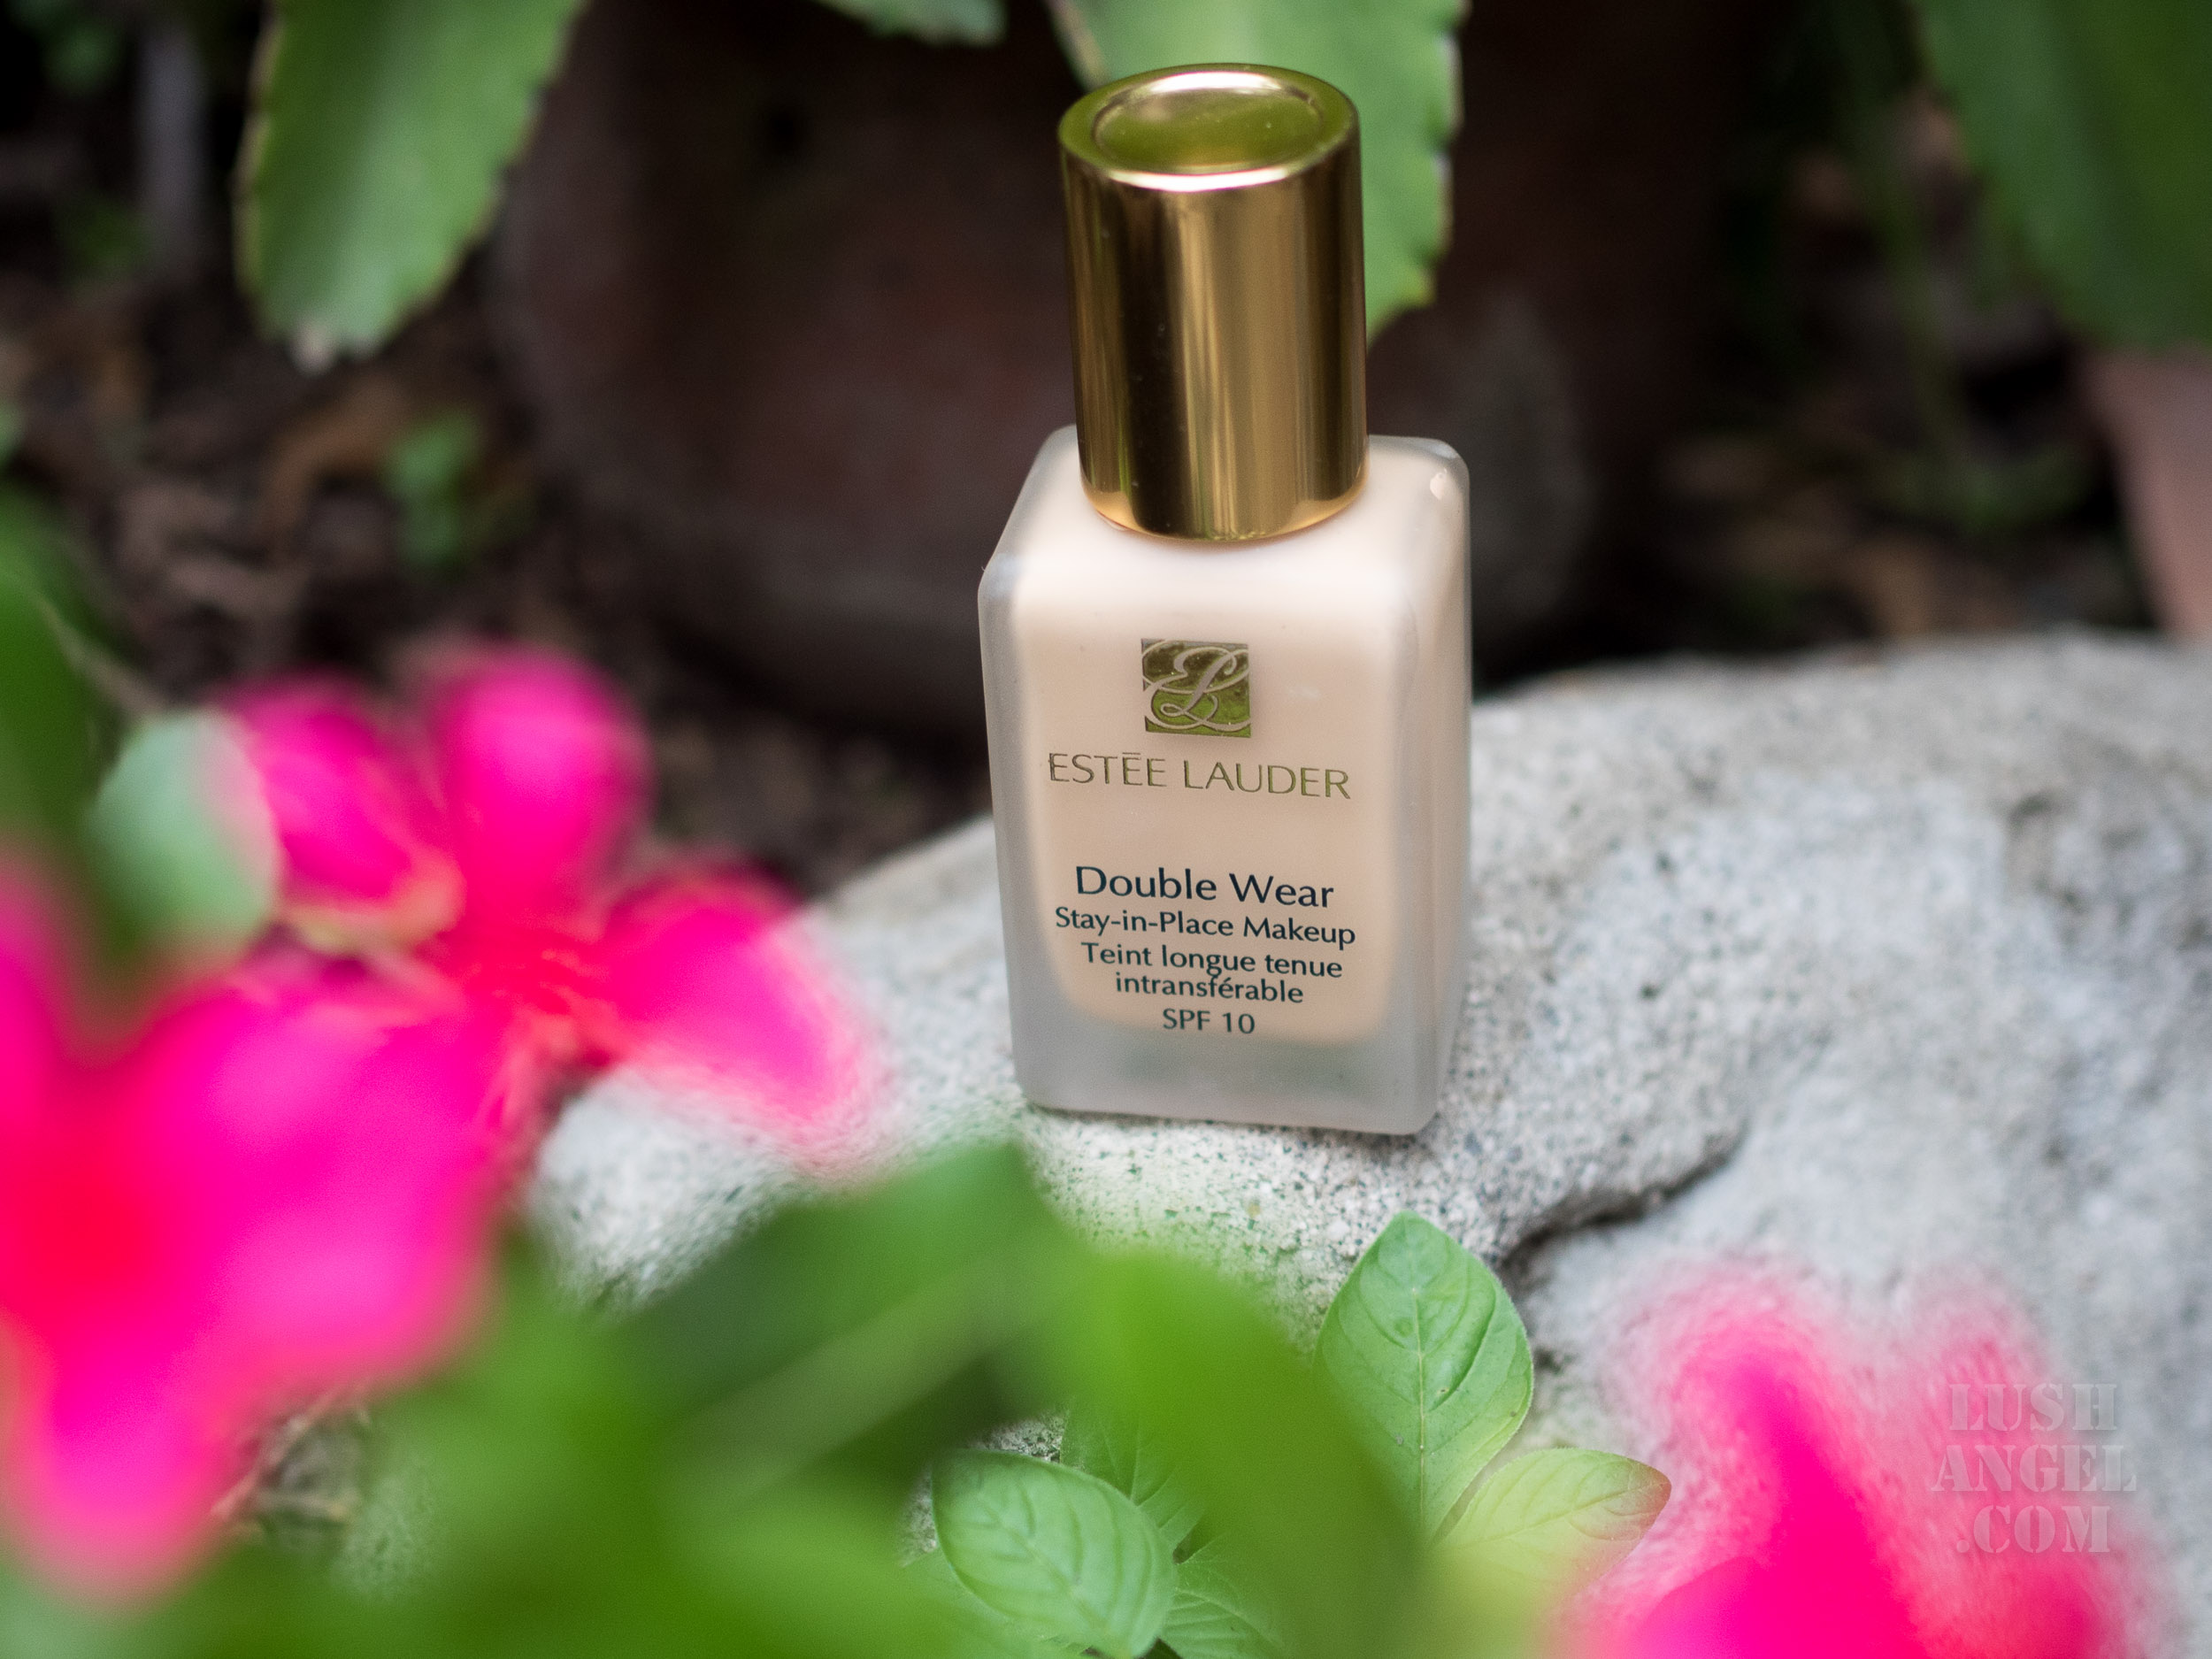
- Conceal. This is optional. I don’t usually need concealer when I use Estee Lauder Double Wear Stay-In Place Makeup as my foundation because of its heavy coverage. My tip: If you don’t need it, skip it! The less products you use on your face, the less chances of caking. If I need to, I like using MAC Studio Conceal and Correct Palette for blemishes and MAKE UP FOR EVER Ultra HD Concealer for the under eye area.
- Bake. I like to bake whenever I need my makeup to last the whole day. Just excessively apply a matte translucent powder on your under eye area or area that you want to brighten and let it stay until you finish your entire makeup routine. Just don’t forget to sweep it off with a fan brush as soon as you’re done! I usually use MAKE UP FOR EVER Super Matte Loose Powder to bake.
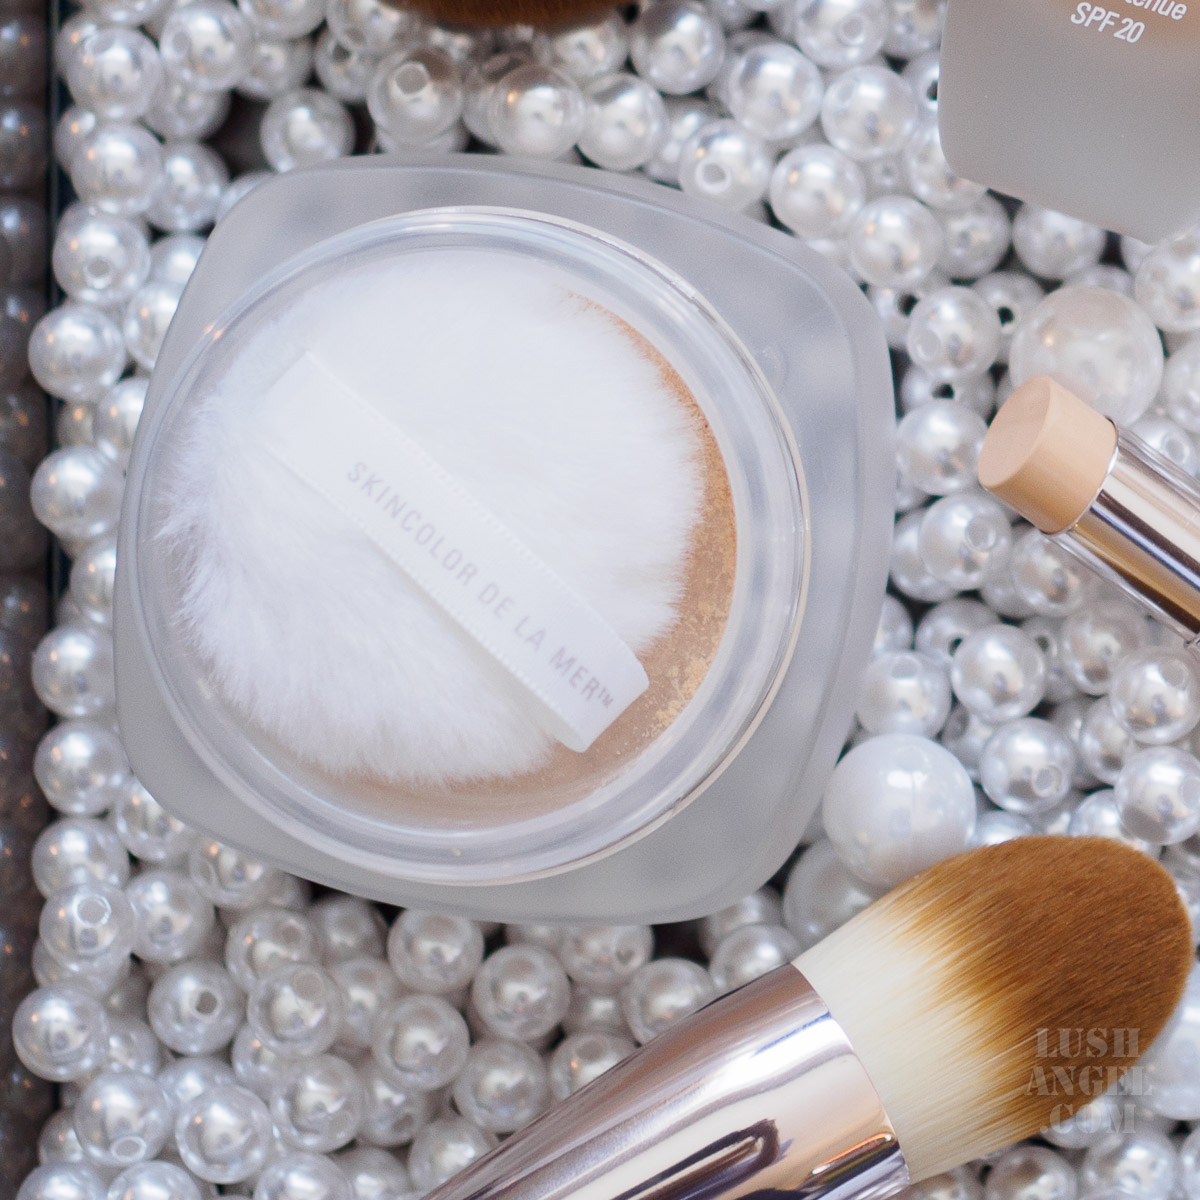
- Set. For the rest of the face, you just want to set the liquid foundation with a thin layer of translucent powder. I used La Mer The Powder since it has little shine to it, which adds radiance to the face.
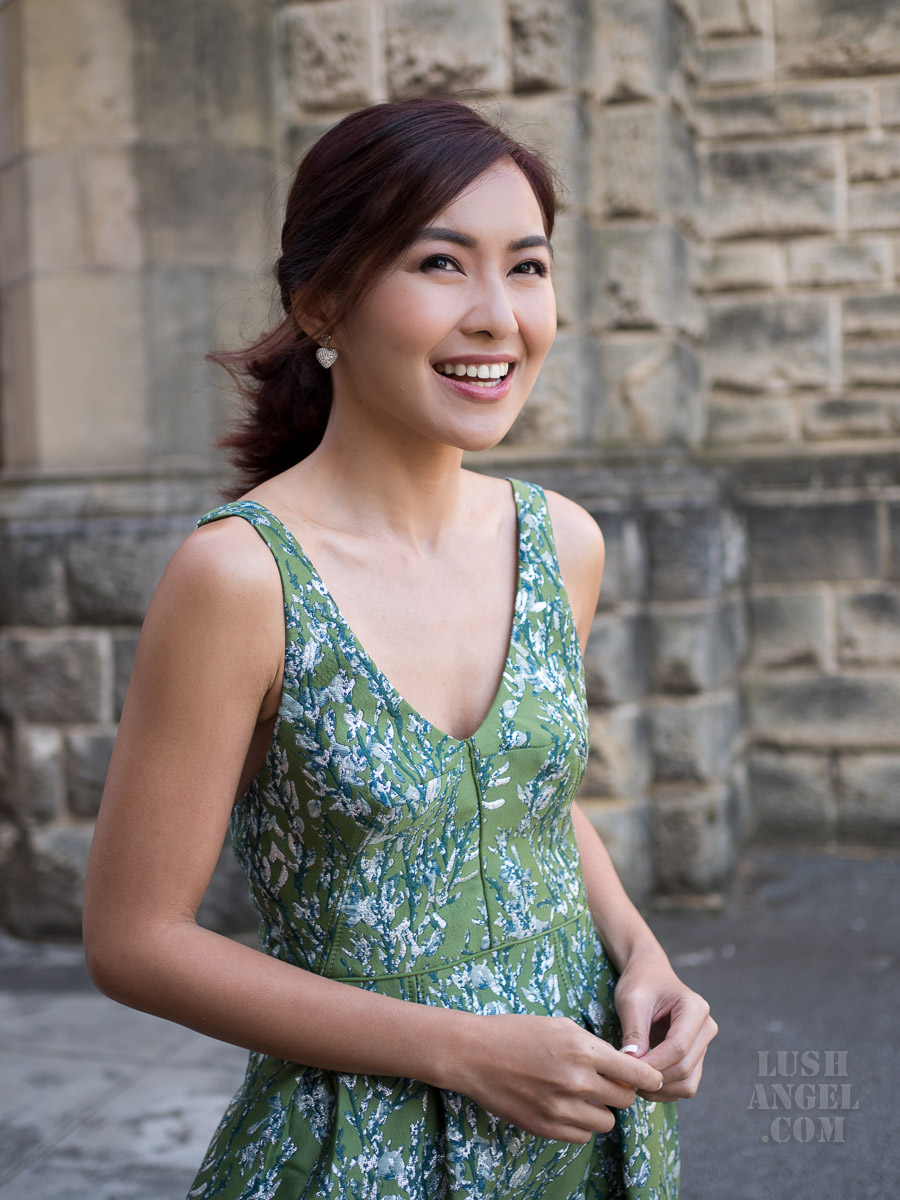
- Make the eyes pop. I like to do a smokey eye makeup when attending special occasions. I want my eyes to pop even in photos. I just make sure it’s not too dark if it’s a whole day affair. In this look I first used Bobbi Brown Long-Wear Cream Shadow in Vanilla as my eye primer. If you have oily lids, don’t ever skip this step! You wouldn’t want your eye makeup to crease in the middle of the day. Then, I used neutral matte shades of MAC eye shadows, such as Espresso, Soft Brown and Brule, and the TOM FORD Eye Color Quad in Nude Dip for the shimmers.
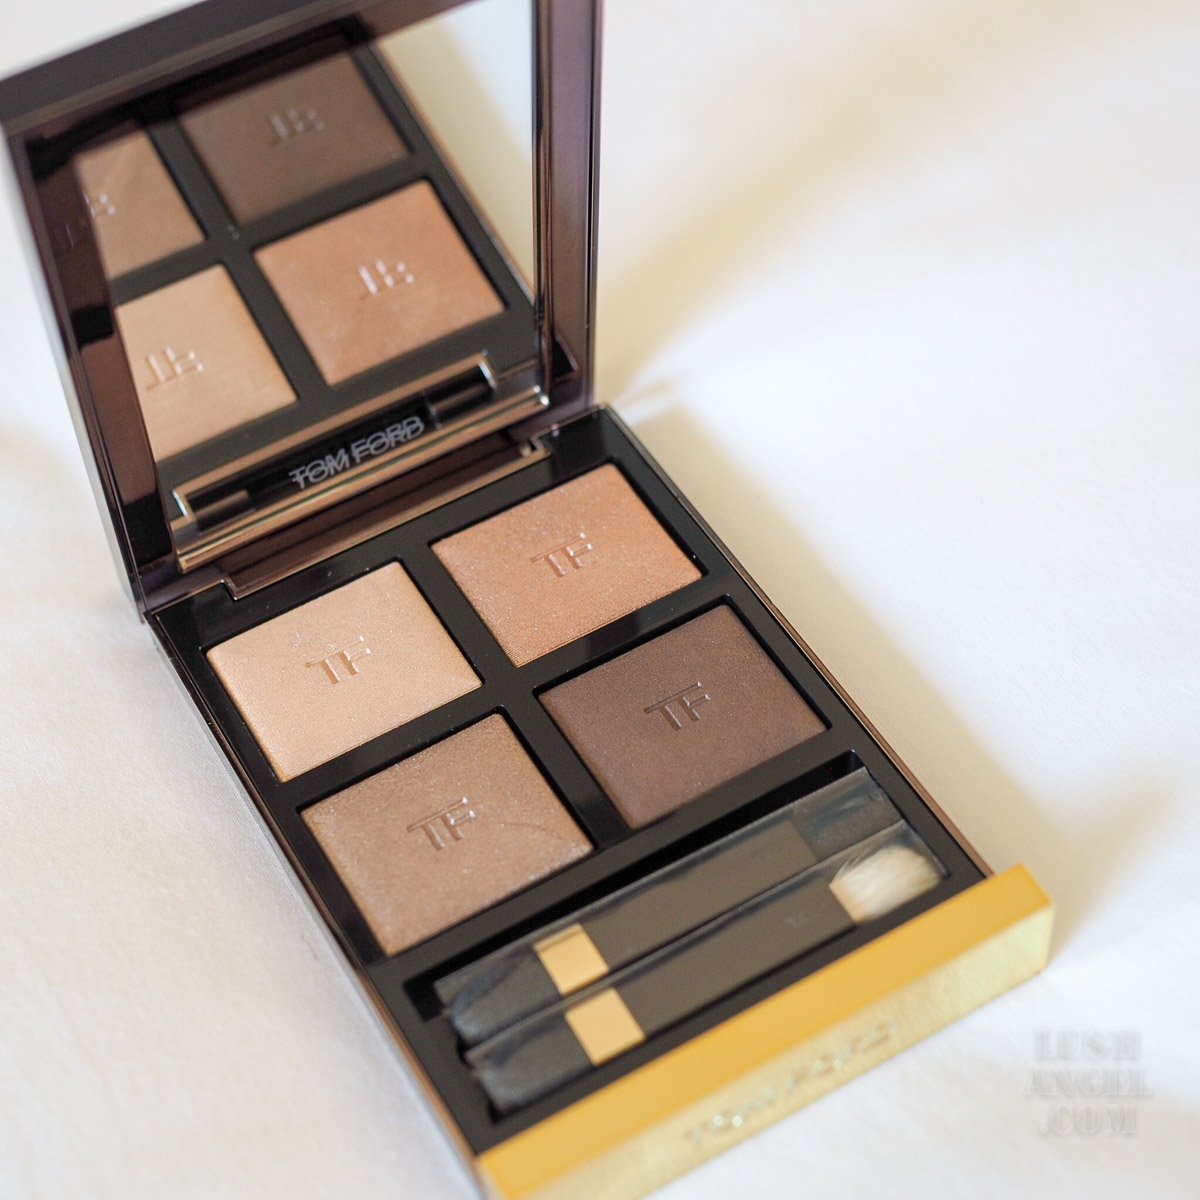
This eye makeup is pretty easy. I just concentrated the Espresso (dark brown) close to my upper lashes then blended it upwards. To soften the edges, I used Soft Brown . Then, I patted a golden champagne shade from the TOM FORD palette on the center of my lids. I used Brule, a soft creamy beige eye shadow, on my brow bone.
To finish the eye makeup, don’t forget your smudge-proof liner! I used MAKE UP FOR EVER Aqua Eyes Waterproof Eyeliner pencil to fill in the gaps of my upper and lower lashes. Then, I used K-Palette liquid eyeliner in black for a sharper line on top of my upper lashes. I also set the eye pencil on my lower lash line by applying eyeshadow on top. Lastly, curl your lashes and swipe on a waterproof mascara. You can also add falsies, if you wish. Check out Nippon– they have nice falsies. But if I’m running out of time, I just use a lenghthening and volumizing mascara. In this photo, I used MAC Bold, Bad Black Mascara.
- Brows. Make sure to have your brows waxed and shaped days before an important event! I go to Benefit Cosmetics to have my brows done. For this look, I used Benefit Brow Controur Pro to give my brows a nice shape and MAKE UP FOR EVER Brow Gel to lighten my dark brows and to keep the strands in place.
- Contour and highlight. To slim down the face, use contour and highlight. In this photo, I used Happy Skin Feeling Sculptacular.
- Glow. Who wouldn’t want to look radiant?! In fact, I do this step for my everyday makeup. I normally use a liquid or cream blush first for a more natural flush. In this look, I used NARS liquid blush in Hot Tin Roof. Just make sure to apply your cream blush before setting your foundation with powder for easier blending. Then, I used Bobbi Brown Highlighting Powder and Chanel Les Beiges Healthy Glow Luminous Multi-Colour Powder in Medium on top.
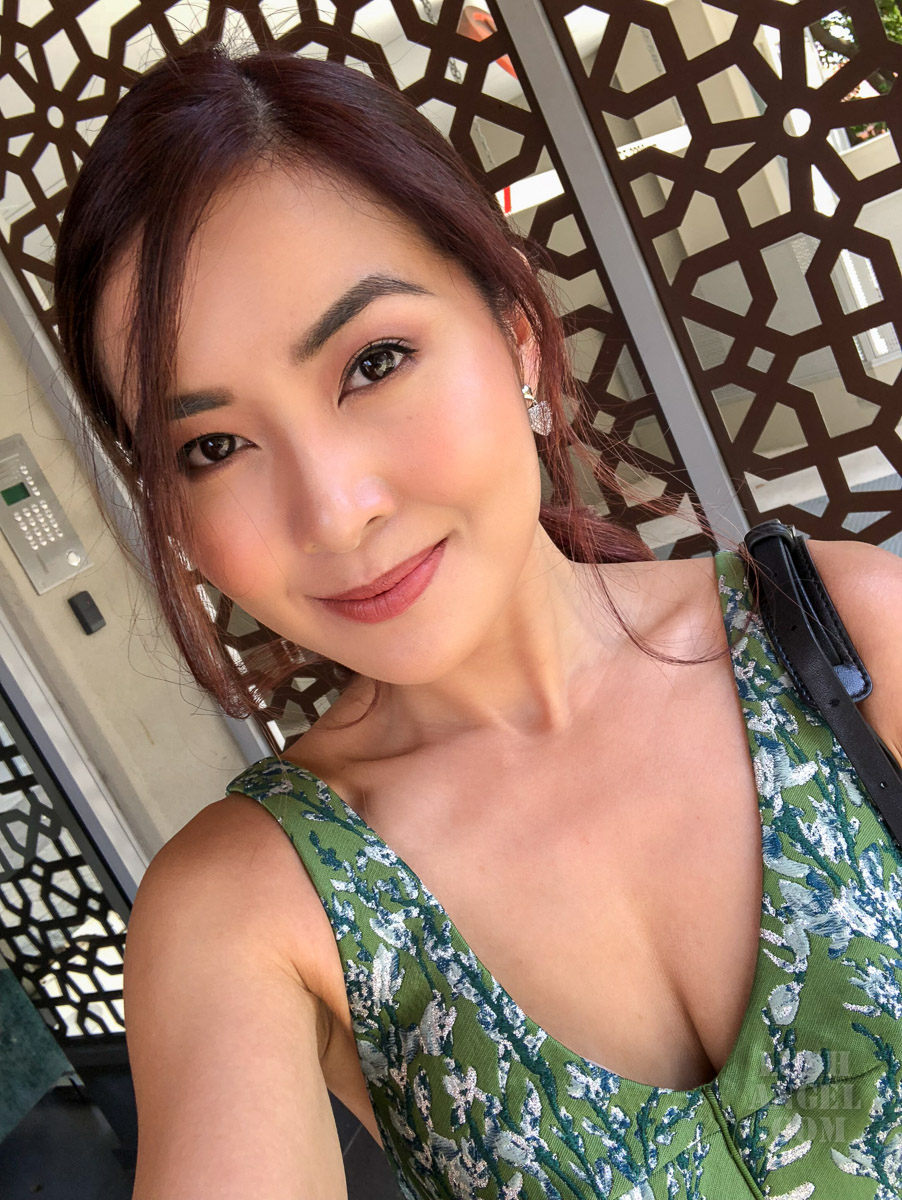
- Last but not the least, I used a neutral shade of lip color to go with my smokey eyes. Tip: Use lip liner all over you lips for your lipstick to last longer. I used MAC Lip Pencil and TOM FORD Lip Color in Indian Rose on top.
- Oh, and as a finishing touch, I like to use a setting spray to seal everything! MAKE UP FOR EVER Mist and Fix suggests to use it to set foundation, before powdering, to seal the makeup and keep it in place. Allow it to dry before layering with powder. On the other hand, I like to use MAC Prep+Prime to refresh my makeup instead of layering it with pressed powder throughout the day.

And that’s it! How do you like the look?
For instant beauty, fashion, travel, fitness, or random updates from me, LIKE lushangelblog on FACEBOOK, FOLLOW lush_angel on TWITTER and lush_angel on INSTAGRAM.
